> ## Documentation Index
> Fetch the complete documentation index at: https://docs.zionapp.co/llms.txt
> Use this file to discover all available pages before exploring further.
# Administrator guide: onboarding
> Sign up, choose a plan, and set up your school with the guided wizard, then work through the getting-started checklist.
This guide covers the two onboarding systems in Zion: the one-time setup that runs when you create your school's account, and the ongoing getting-started checklist on your dashboard. Both are for the administrator who creates the school.
Looking for a faster path? The [Quickstart](/quickstart) covers the same setup in less detail.
## The setup wizard
Zion is self-serve: you create your own school account and start your subscription without waiting on the Zion team. Payment comes first, then a forced, sequential setup wizard configures your school. You cannot skip ahead.
Sign up and enter your school's name and, optionally, its country.
Pick a plan and complete payment. This step only appears once, right after you create your school, before anything else is set up. You can change or cancel your plan later from the billing portal.
Enter your school name (required, 2 to 100 characters), city, country, contact email, contact phone, timezone (defaults to UTC), and language (English is currently the only option). Timezone controls when Goal Check dates and scheduled reports are evaluated.
Add a term with a name and a start and end date. Continue stays disabled until at least one term exists. Use "Add Another Term" to create more than one before moving on.
Add a centre with a name (required), an optional description, and an optional capacity. Continue stays disabled until at least one centre exists.
Optionally invite a supervisor or monitor by email and name, assign learning centres, and add a welcome message. This step only offers the supervisor and monitor roles. Both "Skip This Step" and "Send Invitation" move you forward.
After the last step you land on a completion screen with links to the dashboard and to support.
If you were added to a school that already exists, for example as a second administrator, you land straight in the School Profile step onward. Creating the school and choosing a plan only happens once, for whoever signs up first.
Once your school's setup is complete, the onboarding page always shows a static "already complete" screen instead of the wizard, with links to the dashboard and to School Settings. The wizard cannot be rerun. Make further changes from [School Settings](/features/school-settings/overview), [Learning Centres](/features/organization/learning-centres), or Academic Terms directly.
## The getting-started checklist
Separately from the wizard, an ongoing getting-started checklist appears on the administrator, supervisor, and monitor dashboards. It tracks a different, per-role list of steps and stays visible until you finish or dismiss it.
* Each open step links to the page where you complete that action.
* Tapping the circle next to a step marks it complete without navigating away.
* Completed steps show struck through alongside a progress counter.
* Once every step is done, the widget briefly shows a completion message, then stops appearing.
* Clicking Dismiss hides the widget permanently.
If you dismiss the checklist or finish it and want it back, go to your profile page and use the "Restart getting-started guide" card. This clears your completion mark but keeps steps you already finished, so only the remaining ones reappear. As an administrator, you can also fully reset another staff member's checklist, including their completed steps, from Settings > Users.
See the [getting-started checklist reference](/features/onboarding/getting-started) for the full step list per role.
## After the wizard
With the wizard done, use the getting-started checklist and these pages to finish setup:
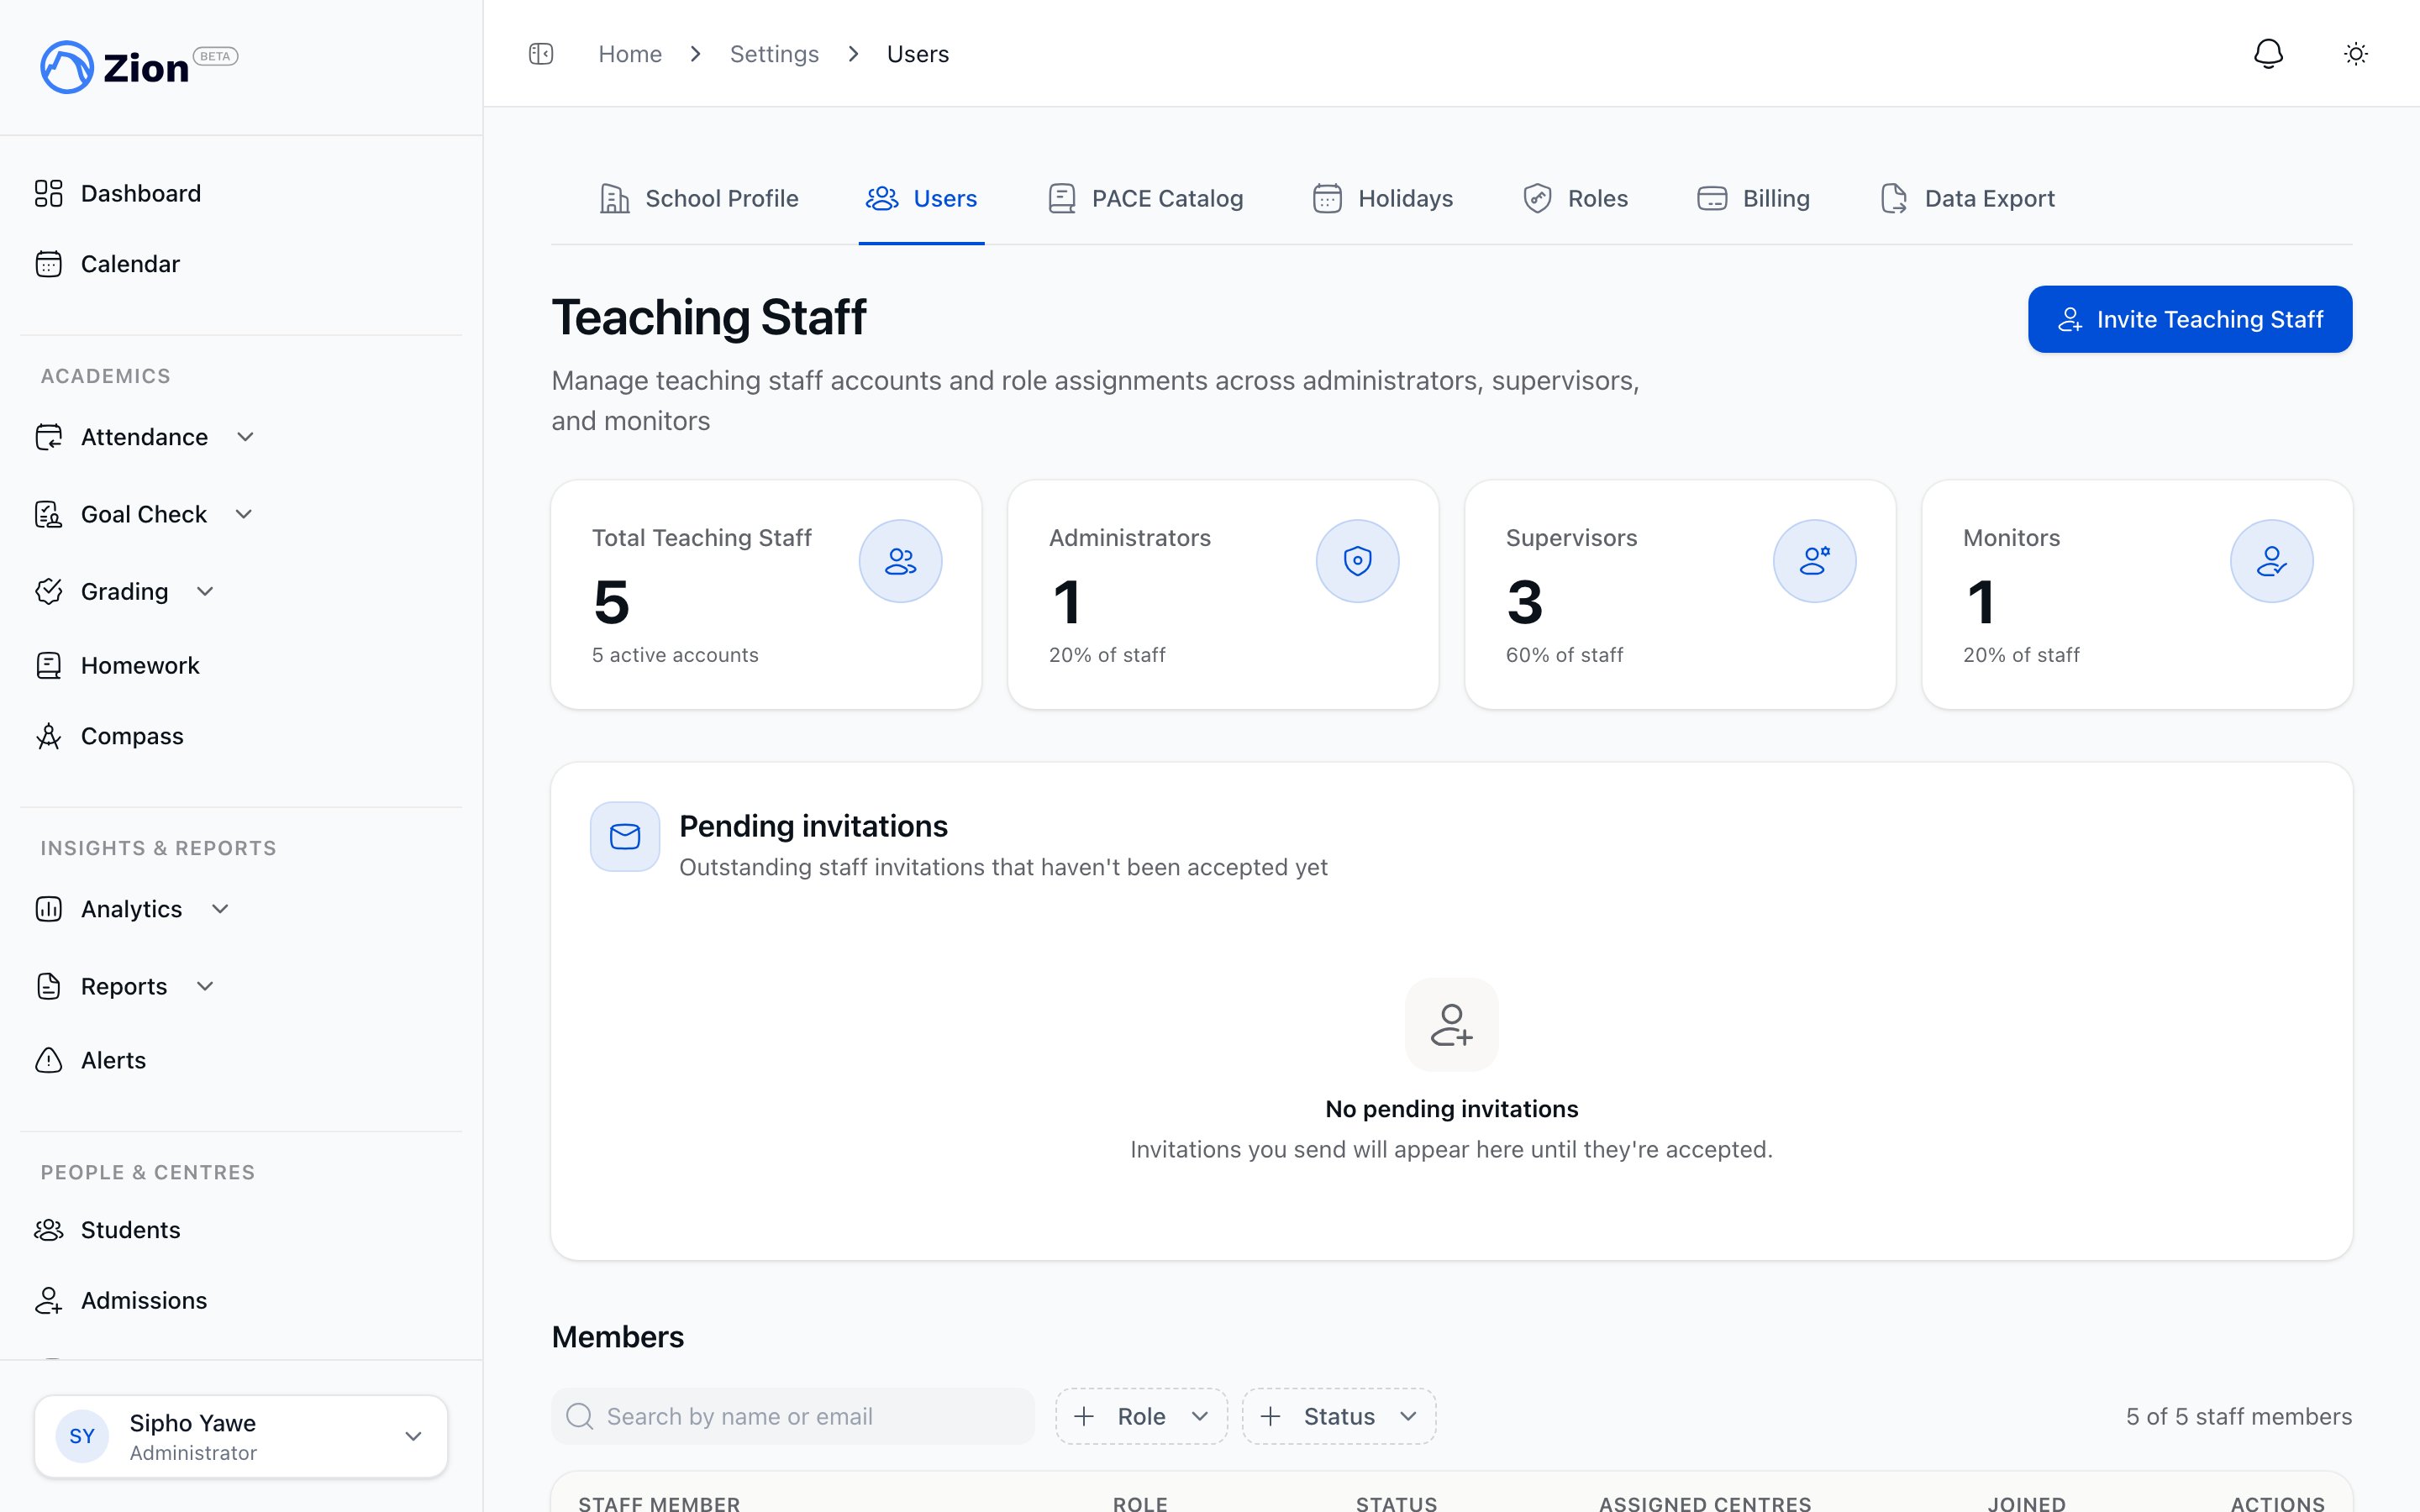
* Invite any remaining teaching staff from [Teaching Staff and Users](/features/organization/teaching-staff-and-users).
* Add your student roster, individually or by CSV, from [Student Management](/features/students/overview).
* Assign PACEs to students so Goal Check can start, using the [PACE Catalog](/features/paces/catalog).
* Review or adjust school profile fields, PACE auto-advance, and routine approval settings in [School Settings](/features/school-settings/overview).
 Full step list for administrators, supervisors, and monitors
Edit school profile, PACE automation, and routine approval after onboarding
Create, edit, or deactivate centres after the wizard
Invite, edit, deactivate, and reactivate teaching staff
Build your student roster and assign PACEs
Start daily Goal Check once staff, centres, and students are in place
Full step list for administrators, supervisors, and monitors
Edit school profile, PACE automation, and routine approval after onboarding
Create, edit, or deactivate centres after the wizard
Invite, edit, deactivate, and reactivate teaching staff
Build your student roster and assign PACEs
Start daily Goal Check once staff, centres, and students are in place