> ## Documentation Index
> Fetch the complete documentation index at: https://docs.zionapp.co/llms.txt
> Use this file to discover all available pages before exploring further.
# Quickstart
> Set up your ACE school in Zion, from creating the account to running your first Morning Routine
This guide walks an administrator through setting up a school in Zion. You will create the account, complete the setup wizard, add students, assign PACEs, and run your first Morning Routine.
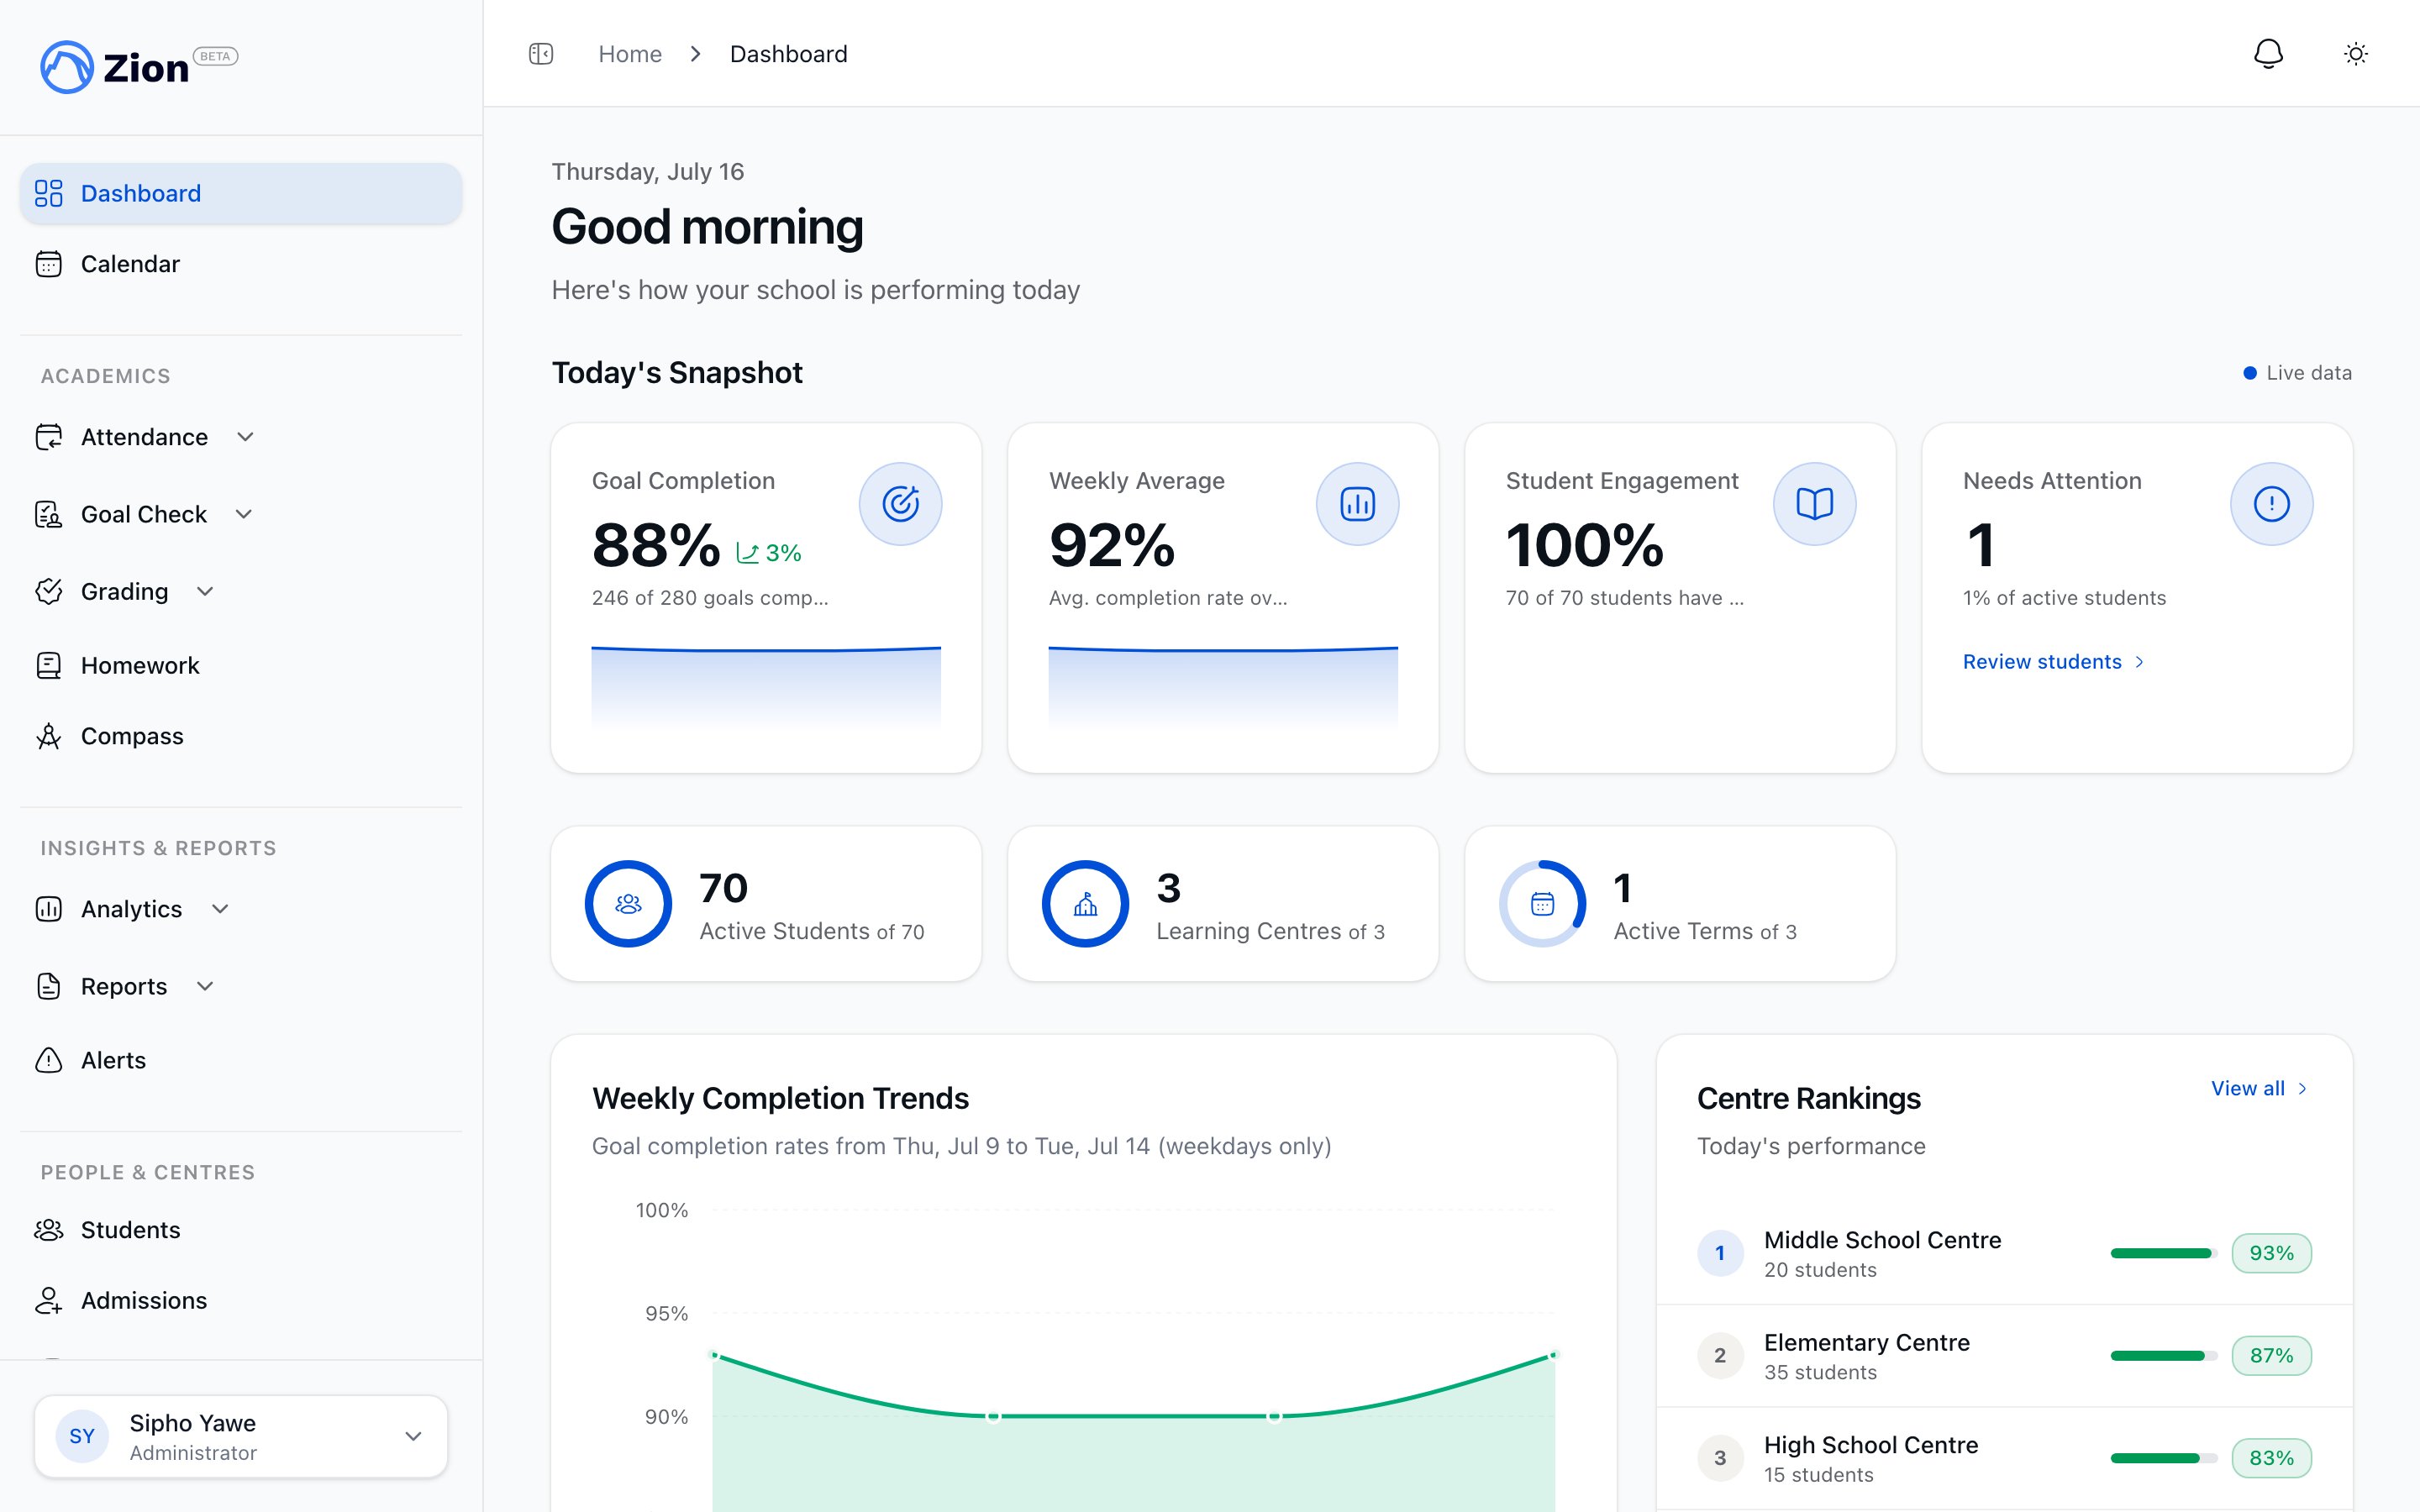 This quickstart is for the administrator who creates the school in Zion. If you are a supervisor or monitor, an administrator invites you directly. See [Supervisor: Goal Check](/guides/supervisor/goal-check) or [The daily routine](/features/goal-check/rituals) for your day-to-day workflow.
## Before you start
Have these to hand:
* School name, city, country, contact email and phone, and timezone
* A list of the learning centres, or classrooms, you want to create
* Names and email addresses for the supervisors and monitors you plan to invite
* Your student roster, with name, date of birth, grade level, learning centre, and optionally a parent email and phone. You can type these in or upload a spreadsheet.
## Step 1: Create your account
Create your administrator account with your email address and a password.
Click the link in the verification email Zion sends you.
Pick your plan and complete payment. Your subscription starts here, before setup, so your school is ready to use the moment the wizard finishes.
## Step 2: Complete the setup wizard
Zion takes you straight into a four-step setup wizard. Each step needs the one before it, and it runs once. If you come back to it after finishing, Zion shows a completed screen with links to your dashboard and School Settings.
### School profile
School name is required. City, country, contact email, contact phone, and timezone are all worth filling in now, because reports and daily cut-off times depend on the timezone. Language defaults to English.
Save to move on to academic terms.
### Academic terms
Enter a term name with a start and end date. You need at least one term before you can continue.
Add the rest of your year now, or come back to [Academic Terms](/features/academic-terms/overview) later. Terms cannot overlap.
### Learning centres
Enter a centre name, with an optional description and capacity. You need at least one centre before you can continue.
Repeat for each classroom or learning centre. See [Learning Centres](/features/organization/learning-centres) for capacity, timezones, and transfers you can adjust later.
### Invite teaching staff
Enter a name and email, choose Supervisor or Monitor, and assign the learning centres they work in. This step offers those two roles only. Other administrators are added later from Settings.
Send the invitations, or choose Skip This Step and invite staff later from [Teaching Staff and Users](/features/organization/teaching-staff-and-users). If you have a lot of staff, you can invite them all at once from a spreadsheet.
Zion shows you a summary of what you set up, then takes you to your dashboard.
## Step 3: Add students
With your terms and centres in place, add your roster.
Go to Students in the sidebar.
Choose Add Student.
Enter the full name, an optional student ID of your own, date of birth, grade level from 1 to 12, learning centre, and optionally a parent email and phone.
Save the record. If the name and details look close to a student already on your roster, Zion warns you so you can check for a duplicate. The warning does not stop you saving.
On the Students page, choose Import CSV, then download the template. It arrives with every column already in place, so you never have to guess at headings.
The template covers name, student ID, date of birth, grade, centre, parent email, and parent phone. The centre has to match one of your learning centre names exactly. Files can be up to 5 MB.
Write dates of birth as 2010-01-15 or as 15/01/2010. If you edit the file in Excel, set the date of birth column to Text first, or Excel may quietly reformat your dates.
Upload the file and choose Validate. Zion checks every row and flags the bad ones without holding up the good ones. A centre at or over capacity gives you a warning rather than blocking the import.
Import the valid rows. Download the error report for anything skipped, fix it, and upload again.
Adding a parent email to a student record does not invite the parent. Invitations are always sent deliberately by a staff member, from the student's record or in bulk from the Parents screen. See [Parent portal](/features/parent-portal/overview).
See [Students Overview](/features/students/overview) and [Bulk Import](/features/students/bulk-import) for managing the roster afterwards, including deactivating and reactivating students.
## Step 4: Assign PACEs
A student needs at least one active PACE before you can set a goal for them. Every school starts with the shared ICCE Africa catalog, covering the core subjects, Bible Reading, and the elective and Lifepac range. An administrator can also add your school's own subjects in Settings, under PACEs.
Choose a student in the roster to open their record.
Open the PACE assignment dialog and pick one or more, up to 12 at a time. Zion keeps students in sequence within a subject, so a PACE is only offered once the earlier ones have been passed, unless an administrator has recorded an override. Elective and Lifepac courses carry a course code and sit outside that sequence.
Save the assignment. It appears on the student's record and is ready to be given a goal.
Do the same for each student. Students in the same grade usually carry similar assignments across subjects.
Starting mid-year? Record the PACEs a student already completed elsewhere first, using the Prior PACE path in Grading. Their progress and reports will then read correctly from day one. See [Score entry](/features/grading/score-entry).
See [PACE Catalog](/features/paces/catalog) to browse subjects and levels, and [PACE Assignments](/features/students/pace-assignments) for progression rules and completion.
## Step 5: Run your first Morning Routine
The Morning Routine is a full-screen flow that takes you through one student at a time, setting the day's PACE goals for a whole learning centre in a single pass.
Find the card for today's routine.
If you cover more than one learning centre, pick the one you are running.
Zion opens the centre's active students one at a time.
For each active PACE, enter the page you want the student to reach. The starting page fills in automatically from wherever they left off. Move on to the next student, or go back and skip as you need to.
After the last student you get a summary of goals set, students skipped, and how long the session took. If your school requires goals to be approved, an administrator or supervisor can approve them from this screen.
If you close the tab partway through, reopening the routine picks up where you left off. Zion will not start a second session for the same day.
At the end of the day, run End of Day from the same card to record the pages each student actually reached. See [The daily routine](/features/goal-check/rituals) for the full morning and end-of-day workflow.
## Next steps
The full administrator handbook for ongoing setup and configuration
How daily goals, progress marking, and reports fit together
Manage centre capacity, staff assignment, and transfers
Invite more staff and manage roles after setup
## Need help
Answers to common setup and workflow questions
Reach the Zion support team
This quickstart is for the administrator who creates the school in Zion. If you are a supervisor or monitor, an administrator invites you directly. See [Supervisor: Goal Check](/guides/supervisor/goal-check) or [The daily routine](/features/goal-check/rituals) for your day-to-day workflow.
## Before you start
Have these to hand:
* School name, city, country, contact email and phone, and timezone
* A list of the learning centres, or classrooms, you want to create
* Names and email addresses for the supervisors and monitors you plan to invite
* Your student roster, with name, date of birth, grade level, learning centre, and optionally a parent email and phone. You can type these in or upload a spreadsheet.
## Step 1: Create your account
Create your administrator account with your email address and a password.
Click the link in the verification email Zion sends you.
Pick your plan and complete payment. Your subscription starts here, before setup, so your school is ready to use the moment the wizard finishes.
## Step 2: Complete the setup wizard
Zion takes you straight into a four-step setup wizard. Each step needs the one before it, and it runs once. If you come back to it after finishing, Zion shows a completed screen with links to your dashboard and School Settings.
### School profile
School name is required. City, country, contact email, contact phone, and timezone are all worth filling in now, because reports and daily cut-off times depend on the timezone. Language defaults to English.
Save to move on to academic terms.
### Academic terms
Enter a term name with a start and end date. You need at least one term before you can continue.
Add the rest of your year now, or come back to [Academic Terms](/features/academic-terms/overview) later. Terms cannot overlap.
### Learning centres
Enter a centre name, with an optional description and capacity. You need at least one centre before you can continue.
Repeat for each classroom or learning centre. See [Learning Centres](/features/organization/learning-centres) for capacity, timezones, and transfers you can adjust later.
### Invite teaching staff
Enter a name and email, choose Supervisor or Monitor, and assign the learning centres they work in. This step offers those two roles only. Other administrators are added later from Settings.
Send the invitations, or choose Skip This Step and invite staff later from [Teaching Staff and Users](/features/organization/teaching-staff-and-users). If you have a lot of staff, you can invite them all at once from a spreadsheet.
Zion shows you a summary of what you set up, then takes you to your dashboard.
## Step 3: Add students
With your terms and centres in place, add your roster.
Go to Students in the sidebar.
Choose Add Student.
Enter the full name, an optional student ID of your own, date of birth, grade level from 1 to 12, learning centre, and optionally a parent email and phone.
Save the record. If the name and details look close to a student already on your roster, Zion warns you so you can check for a duplicate. The warning does not stop you saving.
On the Students page, choose Import CSV, then download the template. It arrives with every column already in place, so you never have to guess at headings.
The template covers name, student ID, date of birth, grade, centre, parent email, and parent phone. The centre has to match one of your learning centre names exactly. Files can be up to 5 MB.
Write dates of birth as 2010-01-15 or as 15/01/2010. If you edit the file in Excel, set the date of birth column to Text first, or Excel may quietly reformat your dates.
Upload the file and choose Validate. Zion checks every row and flags the bad ones without holding up the good ones. A centre at or over capacity gives you a warning rather than blocking the import.
Import the valid rows. Download the error report for anything skipped, fix it, and upload again.
Adding a parent email to a student record does not invite the parent. Invitations are always sent deliberately by a staff member, from the student's record or in bulk from the Parents screen. See [Parent portal](/features/parent-portal/overview).
See [Students Overview](/features/students/overview) and [Bulk Import](/features/students/bulk-import) for managing the roster afterwards, including deactivating and reactivating students.
## Step 4: Assign PACEs
A student needs at least one active PACE before you can set a goal for them. Every school starts with the shared ICCE Africa catalog, covering the core subjects, Bible Reading, and the elective and Lifepac range. An administrator can also add your school's own subjects in Settings, under PACEs.
Choose a student in the roster to open their record.
Open the PACE assignment dialog and pick one or more, up to 12 at a time. Zion keeps students in sequence within a subject, so a PACE is only offered once the earlier ones have been passed, unless an administrator has recorded an override. Elective and Lifepac courses carry a course code and sit outside that sequence.
Save the assignment. It appears on the student's record and is ready to be given a goal.
Do the same for each student. Students in the same grade usually carry similar assignments across subjects.
Starting mid-year? Record the PACEs a student already completed elsewhere first, using the Prior PACE path in Grading. Their progress and reports will then read correctly from day one. See [Score entry](/features/grading/score-entry).
See [PACE Catalog](/features/paces/catalog) to browse subjects and levels, and [PACE Assignments](/features/students/pace-assignments) for progression rules and completion.
## Step 5: Run your first Morning Routine
The Morning Routine is a full-screen flow that takes you through one student at a time, setting the day's PACE goals for a whole learning centre in a single pass.
Find the card for today's routine.
If you cover more than one learning centre, pick the one you are running.
Zion opens the centre's active students one at a time.
For each active PACE, enter the page you want the student to reach. The starting page fills in automatically from wherever they left off. Move on to the next student, or go back and skip as you need to.
After the last student you get a summary of goals set, students skipped, and how long the session took. If your school requires goals to be approved, an administrator or supervisor can approve them from this screen.
If you close the tab partway through, reopening the routine picks up where you left off. Zion will not start a second session for the same day.
At the end of the day, run End of Day from the same card to record the pages each student actually reached. See [The daily routine](/features/goal-check/rituals) for the full morning and end-of-day workflow.
## Next steps
The full administrator handbook for ongoing setup and configuration
How daily goals, progress marking, and reports fit together
Manage centre capacity, staff assignment, and transfers
Invite more staff and manage roles after setup
## Need help
Answers to common setup and workflow questions
Reach the Zion support team