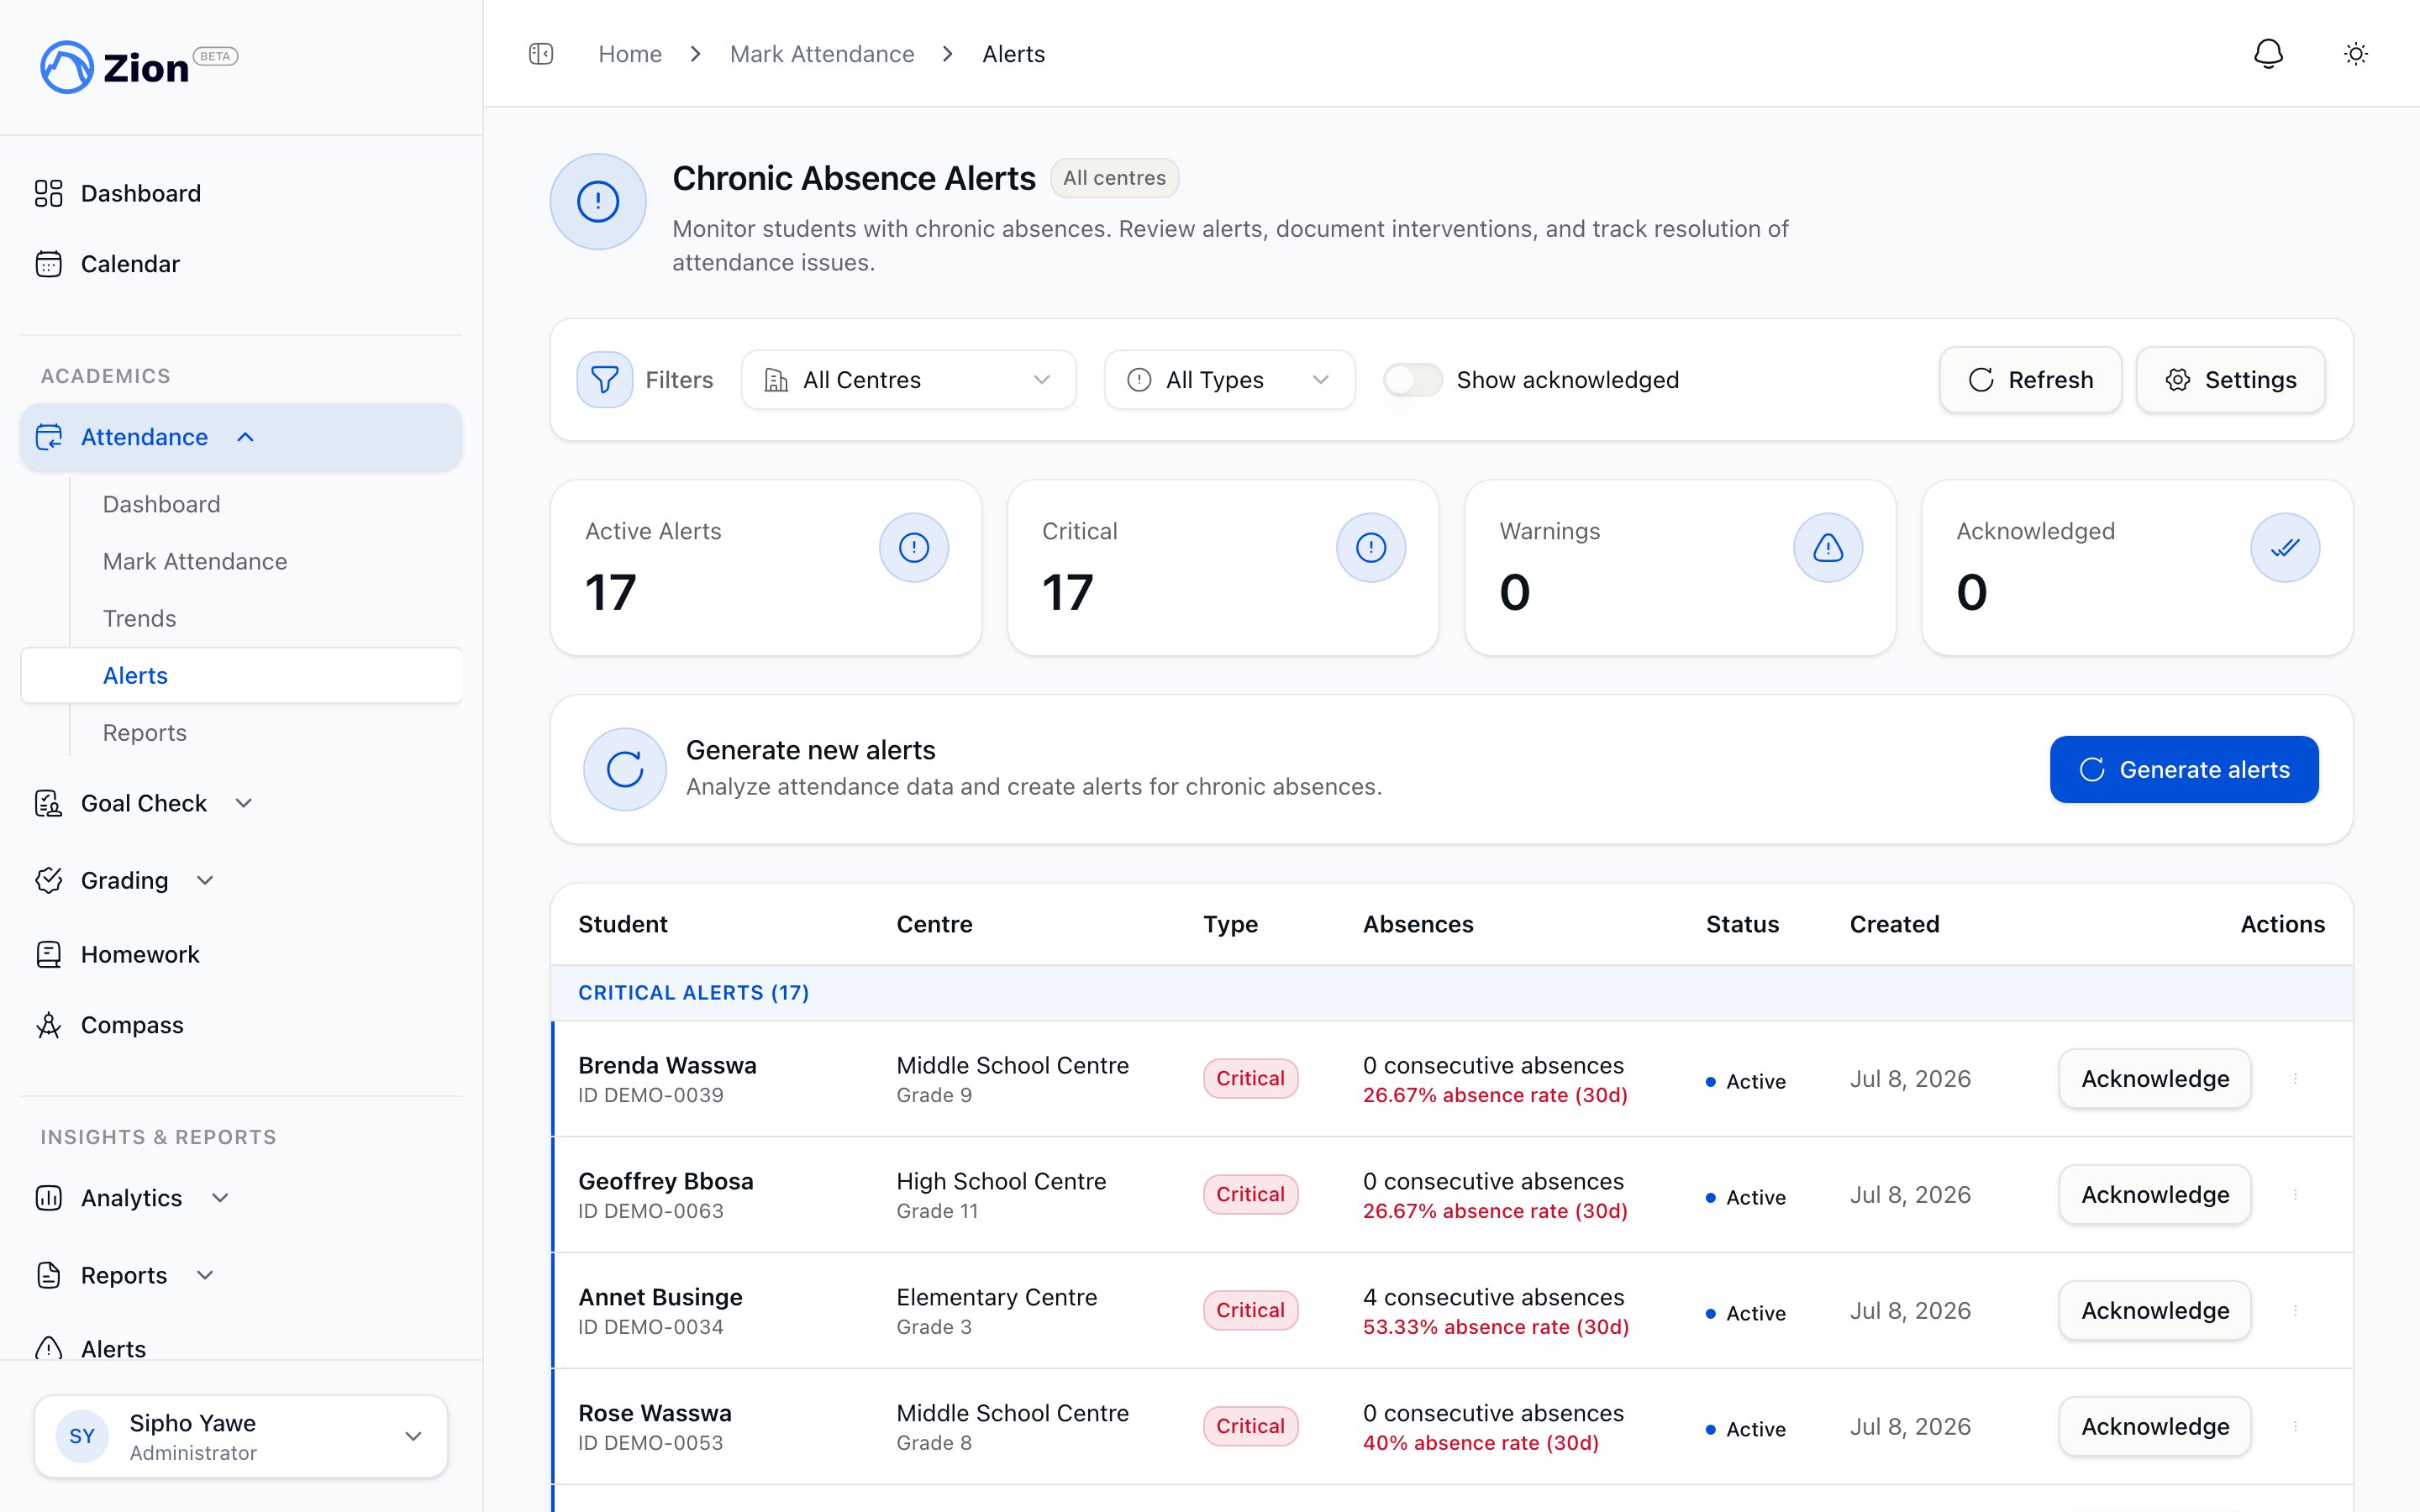
Open chronic absence alerts listed with severity and student detail.
How an alert is triggered
Every morning, before the school day starts, Zion reviews attendance for every active student and compares two measures against configured thresholds:- Consecutive absences. Absent school days in a row, counting backward from the most recent day and skipping weekends and holidays. The streak breaks on the first present, late, or unrecorded day.
- 30-day absence rate. The percentage of school days marked absent in the trailing 30 days.
These numbers are the defaults. An administrator can change the consecutive-absence and rate thresholds for the organization; see Alerts and reports settings.
An alert stays open and up to date as long as the student keeps meeting the criteria. If a warning-level student later crosses the critical thresholds, the same alert escalates to critical rather than creating a duplicate. If the student’s attendance improves enough to fall below both thresholds, the alert resolves automatically the next time Zion checks.
An administrator can also trigger a fresh check from the alerts page at any time, for example right after importing attendance data or correcting a past record.
The cool-down after you act on an alert
Once a staff member acknowledges or dismisses an alert for a student, Zion will not raise a new alert for that same student for about a week, even if the student is still absent and technically still meets the threshold. This stops a family you already followed up with from generating a fresh alert, and a fresh notification email, the very next morning. The cool-down has one exception: if the student’s absences get significantly worse during that week and cross into a higher severity than the one you acted on (for example, a warning you acknowledged escalates to critical), Zion still raises a new alert right away. And the cool-down only applies after a human acknowledges or dismisses an alert. An alert that resolved on its own because the student’s attendance improved is treated as a closed case, so if the same student later starts missing school again, Zion alerts on it immediately, with no waiting period.Alert lifecycle
Each alert moves through one status at a time:Acknowledging an alert
Acknowledging records that you took action. Zion requires intervention notes before it will accept the acknowledgment, so an alert cannot be closed silently.1
Open the alert
From the alerts list, select Acknowledge next to the alert, or open the alert to see its full detail first and select Acknowledge there.
2
Enter intervention notes
Describe what you did: who you contacted, what was discussed, and any follow-up commitment. The field cannot be left empty.
3
Submit
Zion records who acted, when, and your notes, then moves the alert to acknowledged.
Dismissing an alert
Dismissing closes an alert as a false alarm or a case that does not need an intervention. Zion requires a reason of 1 to 500 characters before it will accept the dismissal.1
Open the alert
From the alerts list, use the row’s menu to select Dismiss, or open the alert’s detail view and select Dismiss there.
2
Enter a reason
State why the alert does not need action, for example a data-entry correction already made.
3
Submit
Zion records the reason and moves the alert to dismissed.
Who can act on an alert
Administrators can acknowledge or dismiss any alert in the organization. Supervisors can act only on alerts for students in their assigned learning centres.Alert digest
When an alert fires, Zion dispatches an attendance notification, both in-app and by email, to organization administrators and to any supervisor or monitor whose assigned centre includes the affected student. An administrator can also turn on a daily email digest, delivered each morning, that summarizes new alerts in one message. It is off by default and can be turned on from Alert Settings.Attendance overview
How daily attendance marking and the rest of the attendance module fit together
Attendance reports
Generate and export attendance reports, including chronic-absence lists
Attendance trends
Review attendance rate trends by centre and grade level
Alerts and reports settings
Change the consecutive-absence and rate thresholds for your organization