ACE schools commonly call this unit a classroom or a learning centre. Zion uses “learning centre” throughout the app.
Who sees what
- Administrators see every centre in the school and can create, edit, and archive them.
- Supervisors and monitors only see centres they are assigned to. Opening a centre they are not assigned to returns a not-found page.
The learning centres list
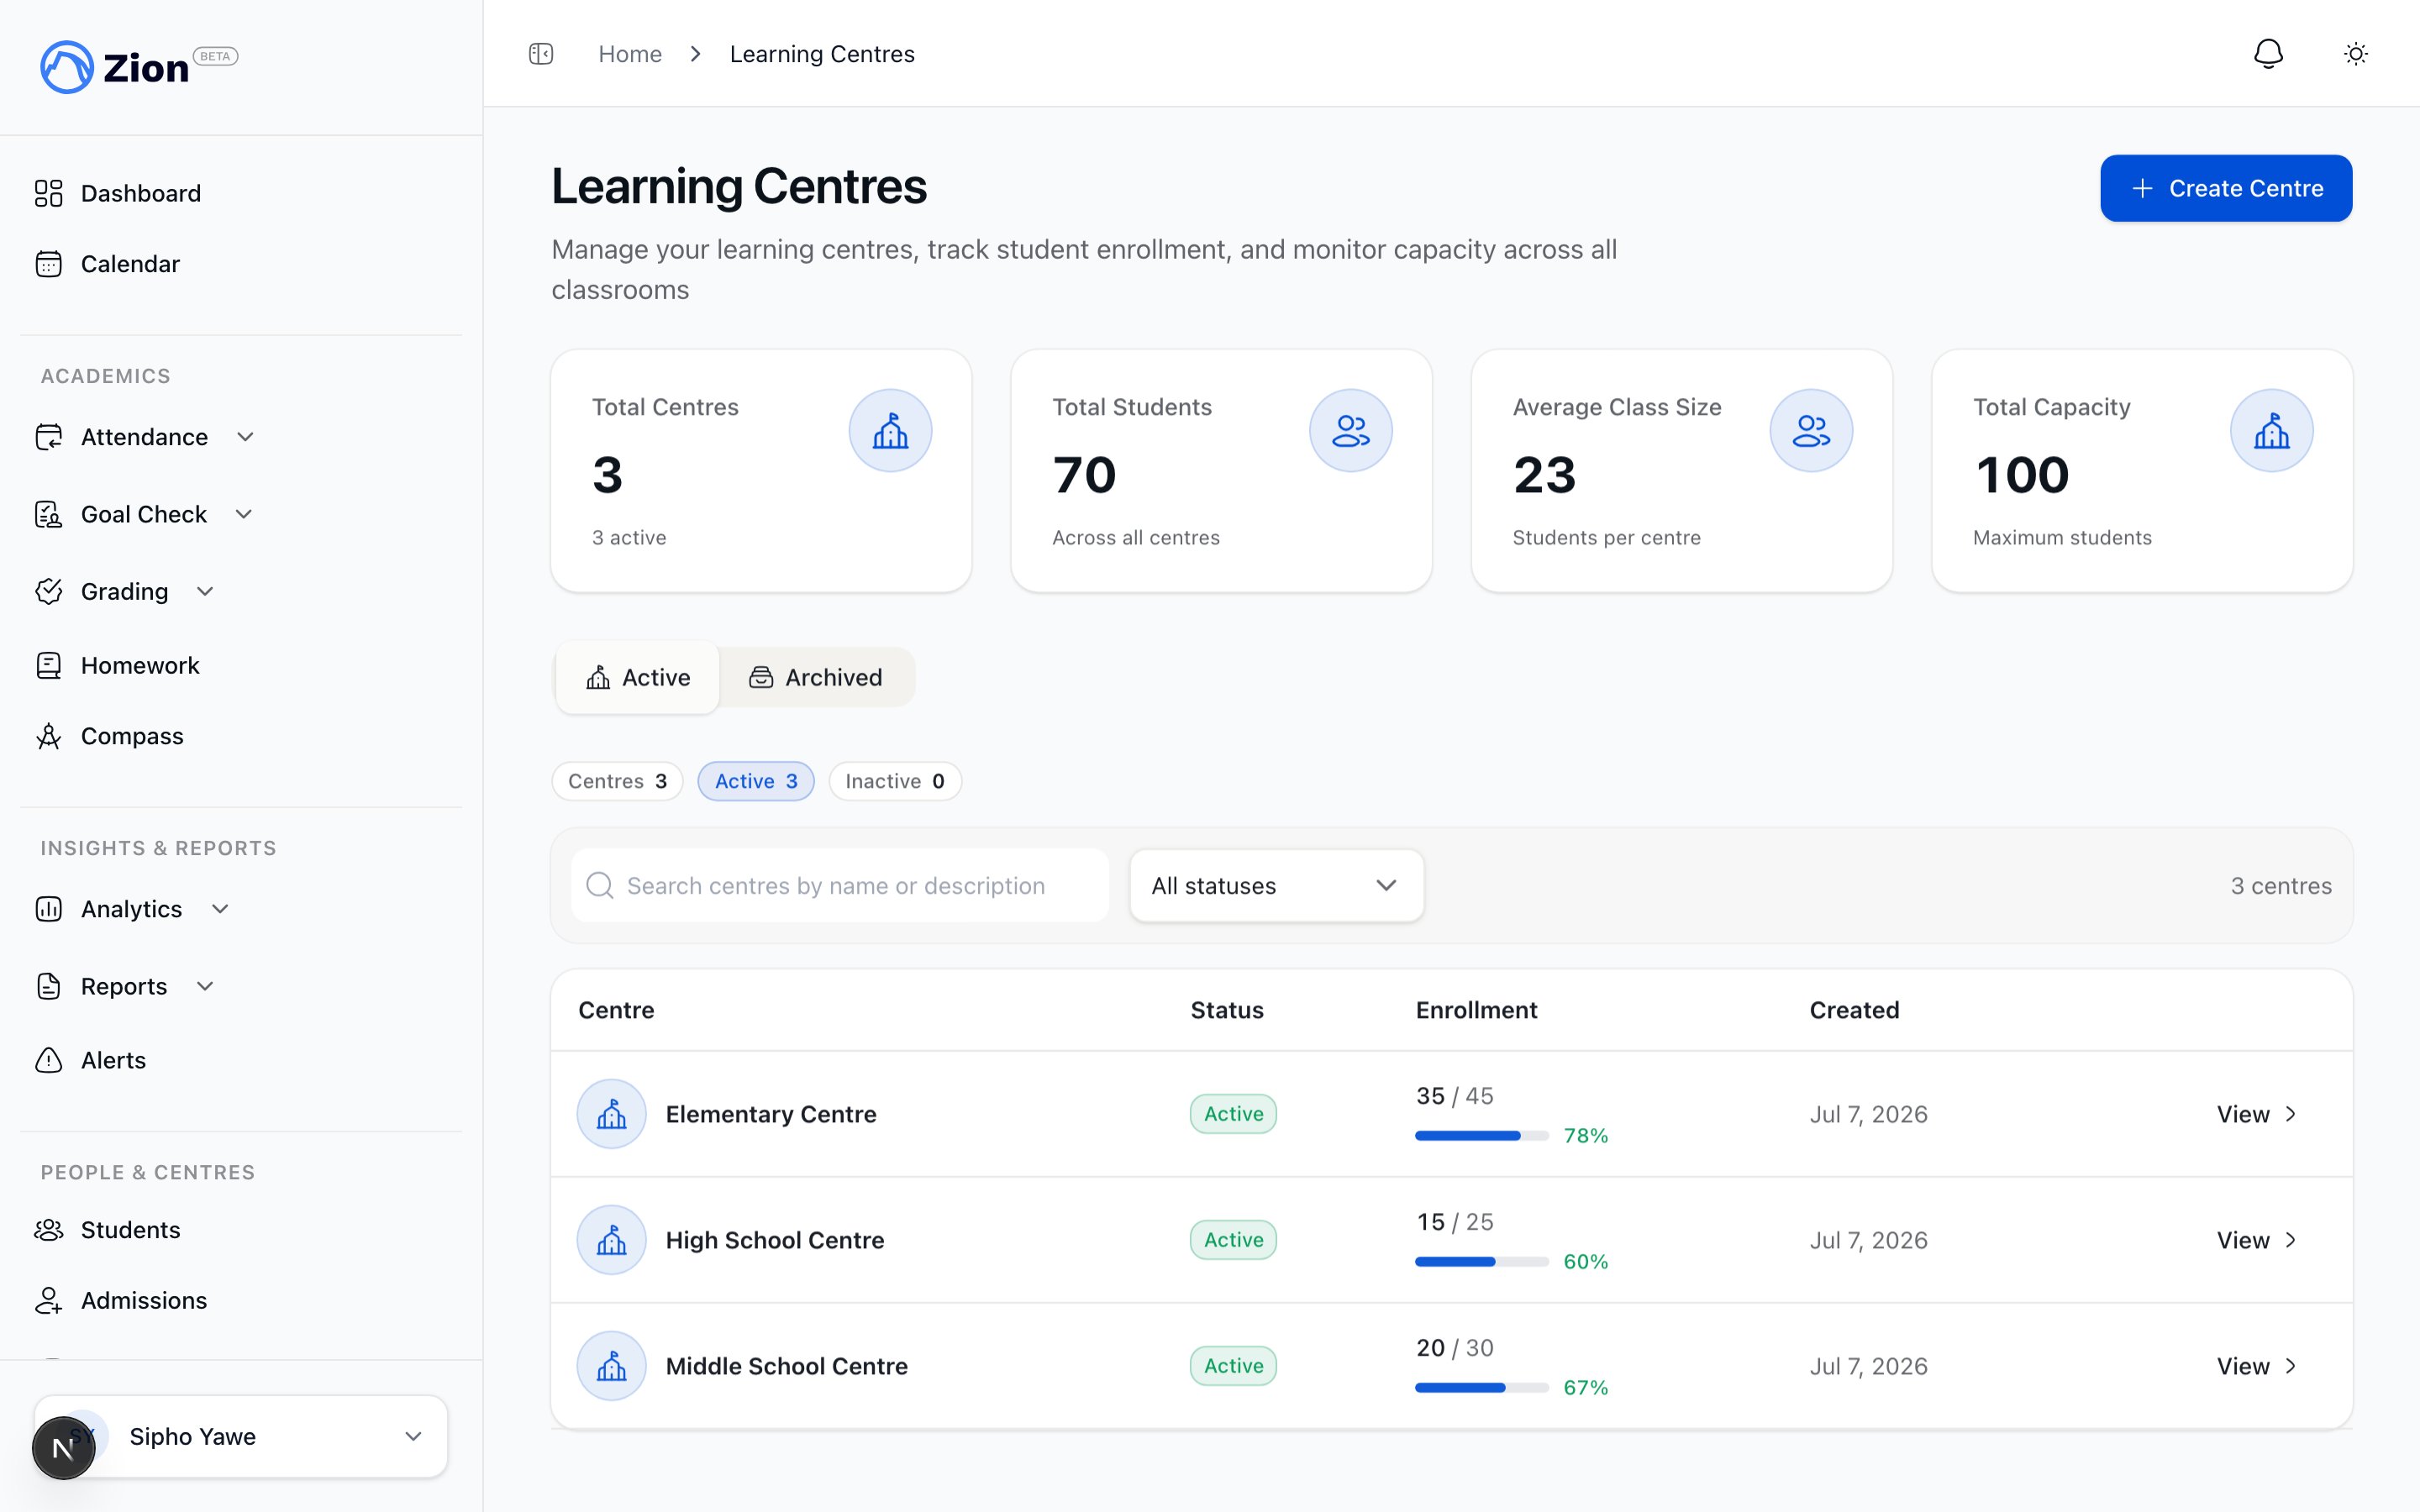
The learning centres list with capacity tiles and centre cards
Creating a centre
1
Open Learning Centres
Go to People & Centres > Learning Centres.
2
Click Create Centre
This button only appears for administrators.
3
Enter the centre details
Fill in the name, and optionally a description, a capacity, and a timezone.
4
Save
The centre appears in the active list immediately.
Centre fields
Bulk import from a spreadsheet
If you have several centres to set up at once, for example when loading a whole school’s classrooms on day one, import them from a CSV file instead of creating each one by hand.1
Open Bulk import
From Learning Centres, click “Bulk import,” next to Create Centre.
2
Download the template
Download the CSV template. Its columns are Name, Description, Capacity, and Timezone. Only Name is required.
3
Fill it in and upload it
Fill in one row per centre and upload the file back. Zion previews each row as valid or invalid before you confirm.
4
Create the centres
Confirm to create every valid row at once. A name that matches a centre you already have is skipped automatically rather than creating a duplicate.
Reading the capacity indicator
Capacity is a guide, not a hard limit. Zion never blocks assigning a student past capacity.
Use the indicator to spot centres that need rebalancing rather than as an enrollment cap.
Assigning supervisors and monitors to a centre
Staff access to a centre’s data comes from this assignment, not from their role alone. A supervisor or monitor with no centre assignment cannot open that centre.1
Open the centre
Go to People & Centres > Learning Centres and click into a centre.
2
Find the Teaching Staff panel
It lists two groups: Supervisors and Monitors.
3
Click Assign
This opens a dialog listing the school’s staff.
4
Select staff and save
Select one or more members and save. A staff member can be assigned to more than one centre, and a centre can have more than one supervisor or monitor.
Archiving and restoring a centre
Archiving removes a centre from the active list and from assignment dropdowns while keeping its historical data intact.1
Open the Archived tab
On People & Centres > Learning Centres, switch from Active to Archived.
2
Find the centre
Archived centres show their archived date and last capacity.
3
Restore
Click Restore and confirm. The centre returns to the active list. If another active centre already uses the same name, rename one of them.
Related resources
Learning centres overview
The feature reference for centre structure, capacity, and access rules.
Staff management
Invite teaching staff and assign their roles and centres.
Roles and permissions
How built-in roles and custom roles govern what staff can do.
Student management
Add students and assign them to a centre.