School Profile
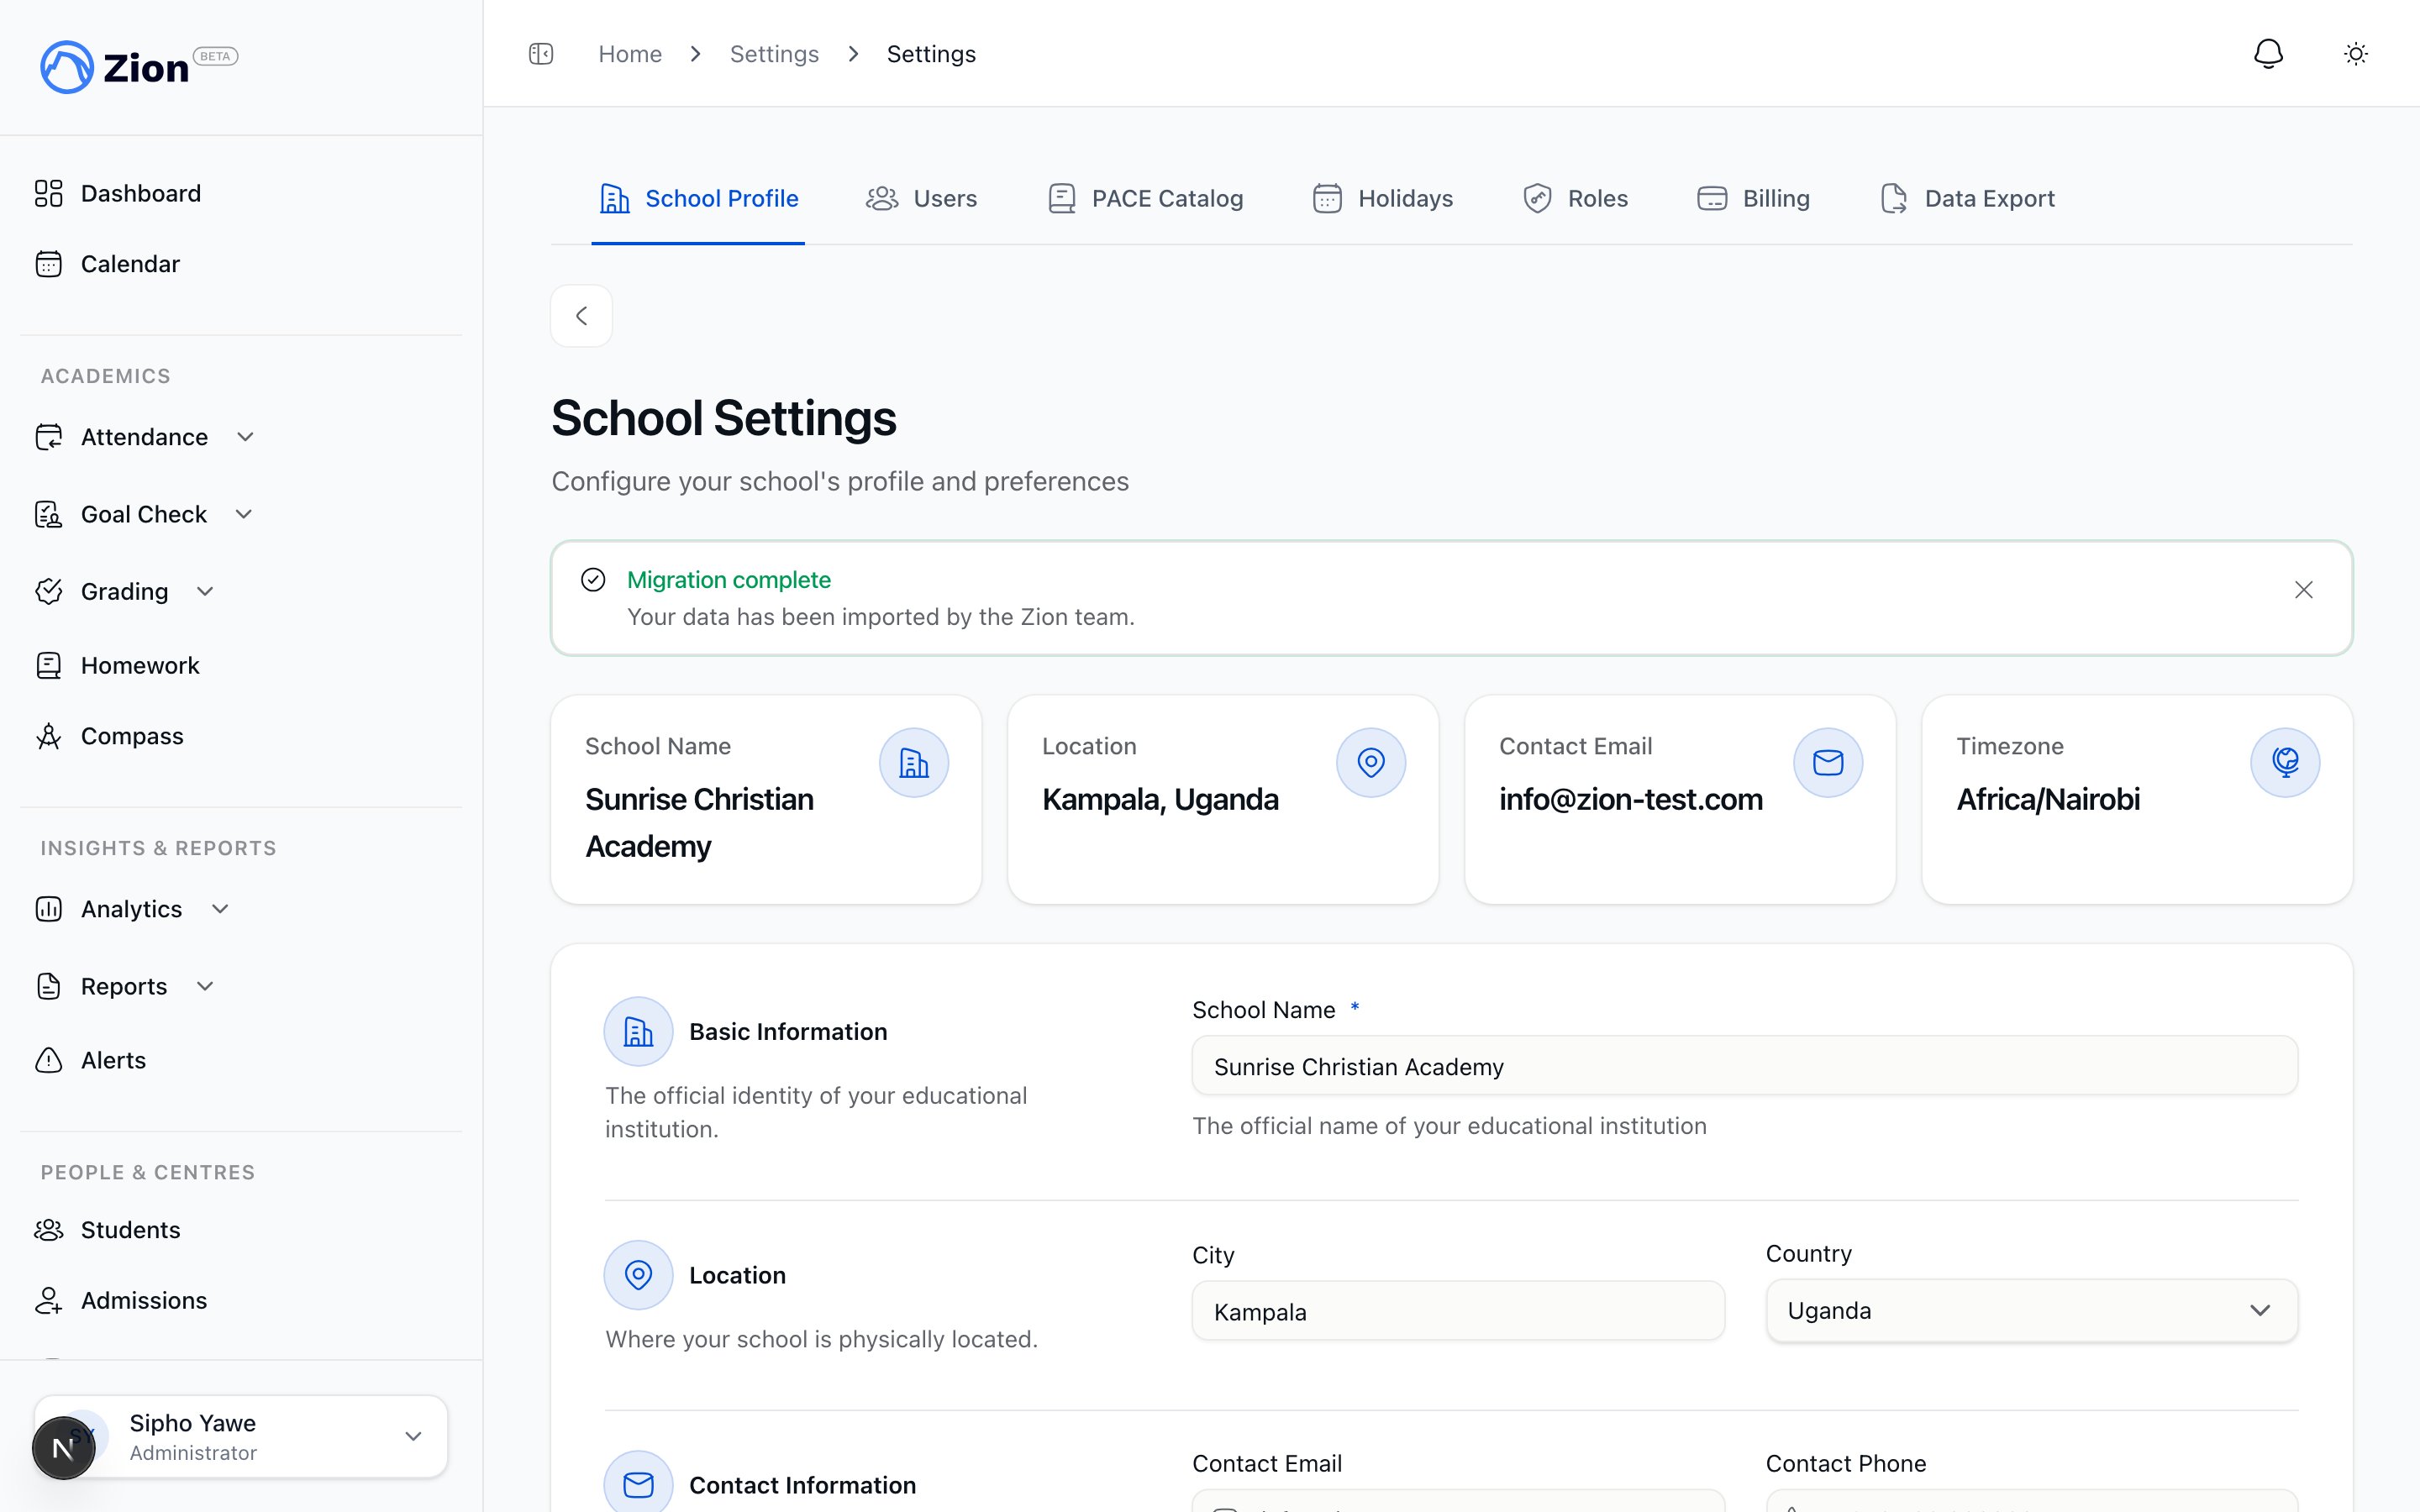
The school profile page with identifying information and behavior toggles
Saving the school profile needs the permission to edit school settings, which the administrator role holds by default. See Roles & Permissions if you use custom roles.
1
Open School Profile
Go to Settings > School Profile.
2
Update the fields you need
Change name, city, country, contact details, timezone, or language.
3
Set the two toggles
Decide whether PACEs auto-advance and whether routine goals need approval, described below.
4
Save
Saving also marks the “school profile” step complete on the getting-started checklist if it was still open.
School Logo
The School Profile page also has a School Logo section. Upload your own logo and it replaces the Zion logo across your dashboard.1
Open School Profile
Go to Settings > School Profile.
2
Upload your logo
In the School Logo section, click “Upload logo” and choose a PNG or JPEG image up to 2MB.
3
Replace or remove it later
Click “Replace logo” to swap it for a different image, or “Remove logo” to go back to the Zion logo. Removing asks you to confirm, since you would need to upload the original file again to undo it.
The Two Toggles
The School Profile page includes two switches that change how Goal Check behaves across your school.Auto-advance PACEs on completion
Off by default. When a student completes a PACE, this controls what happens next.- Off: the student sees a one-click suggestion for the next PACE in that subject. A supervisor or the student still confirms it.
- On: Zion automatically assigns the next PACE in the subject as soon as the current one is marked complete.
Require goal approval in the routine
Off by default. This affects goals entered during Morning Routine.- Off: goals set in the routine go live immediately.
- On: goals set in the routine start in a pending state and need sign-off from a supervisor or administrator before they count. Use this if you want a second set of eyes on routine goals before students act on them.
Academic Terms
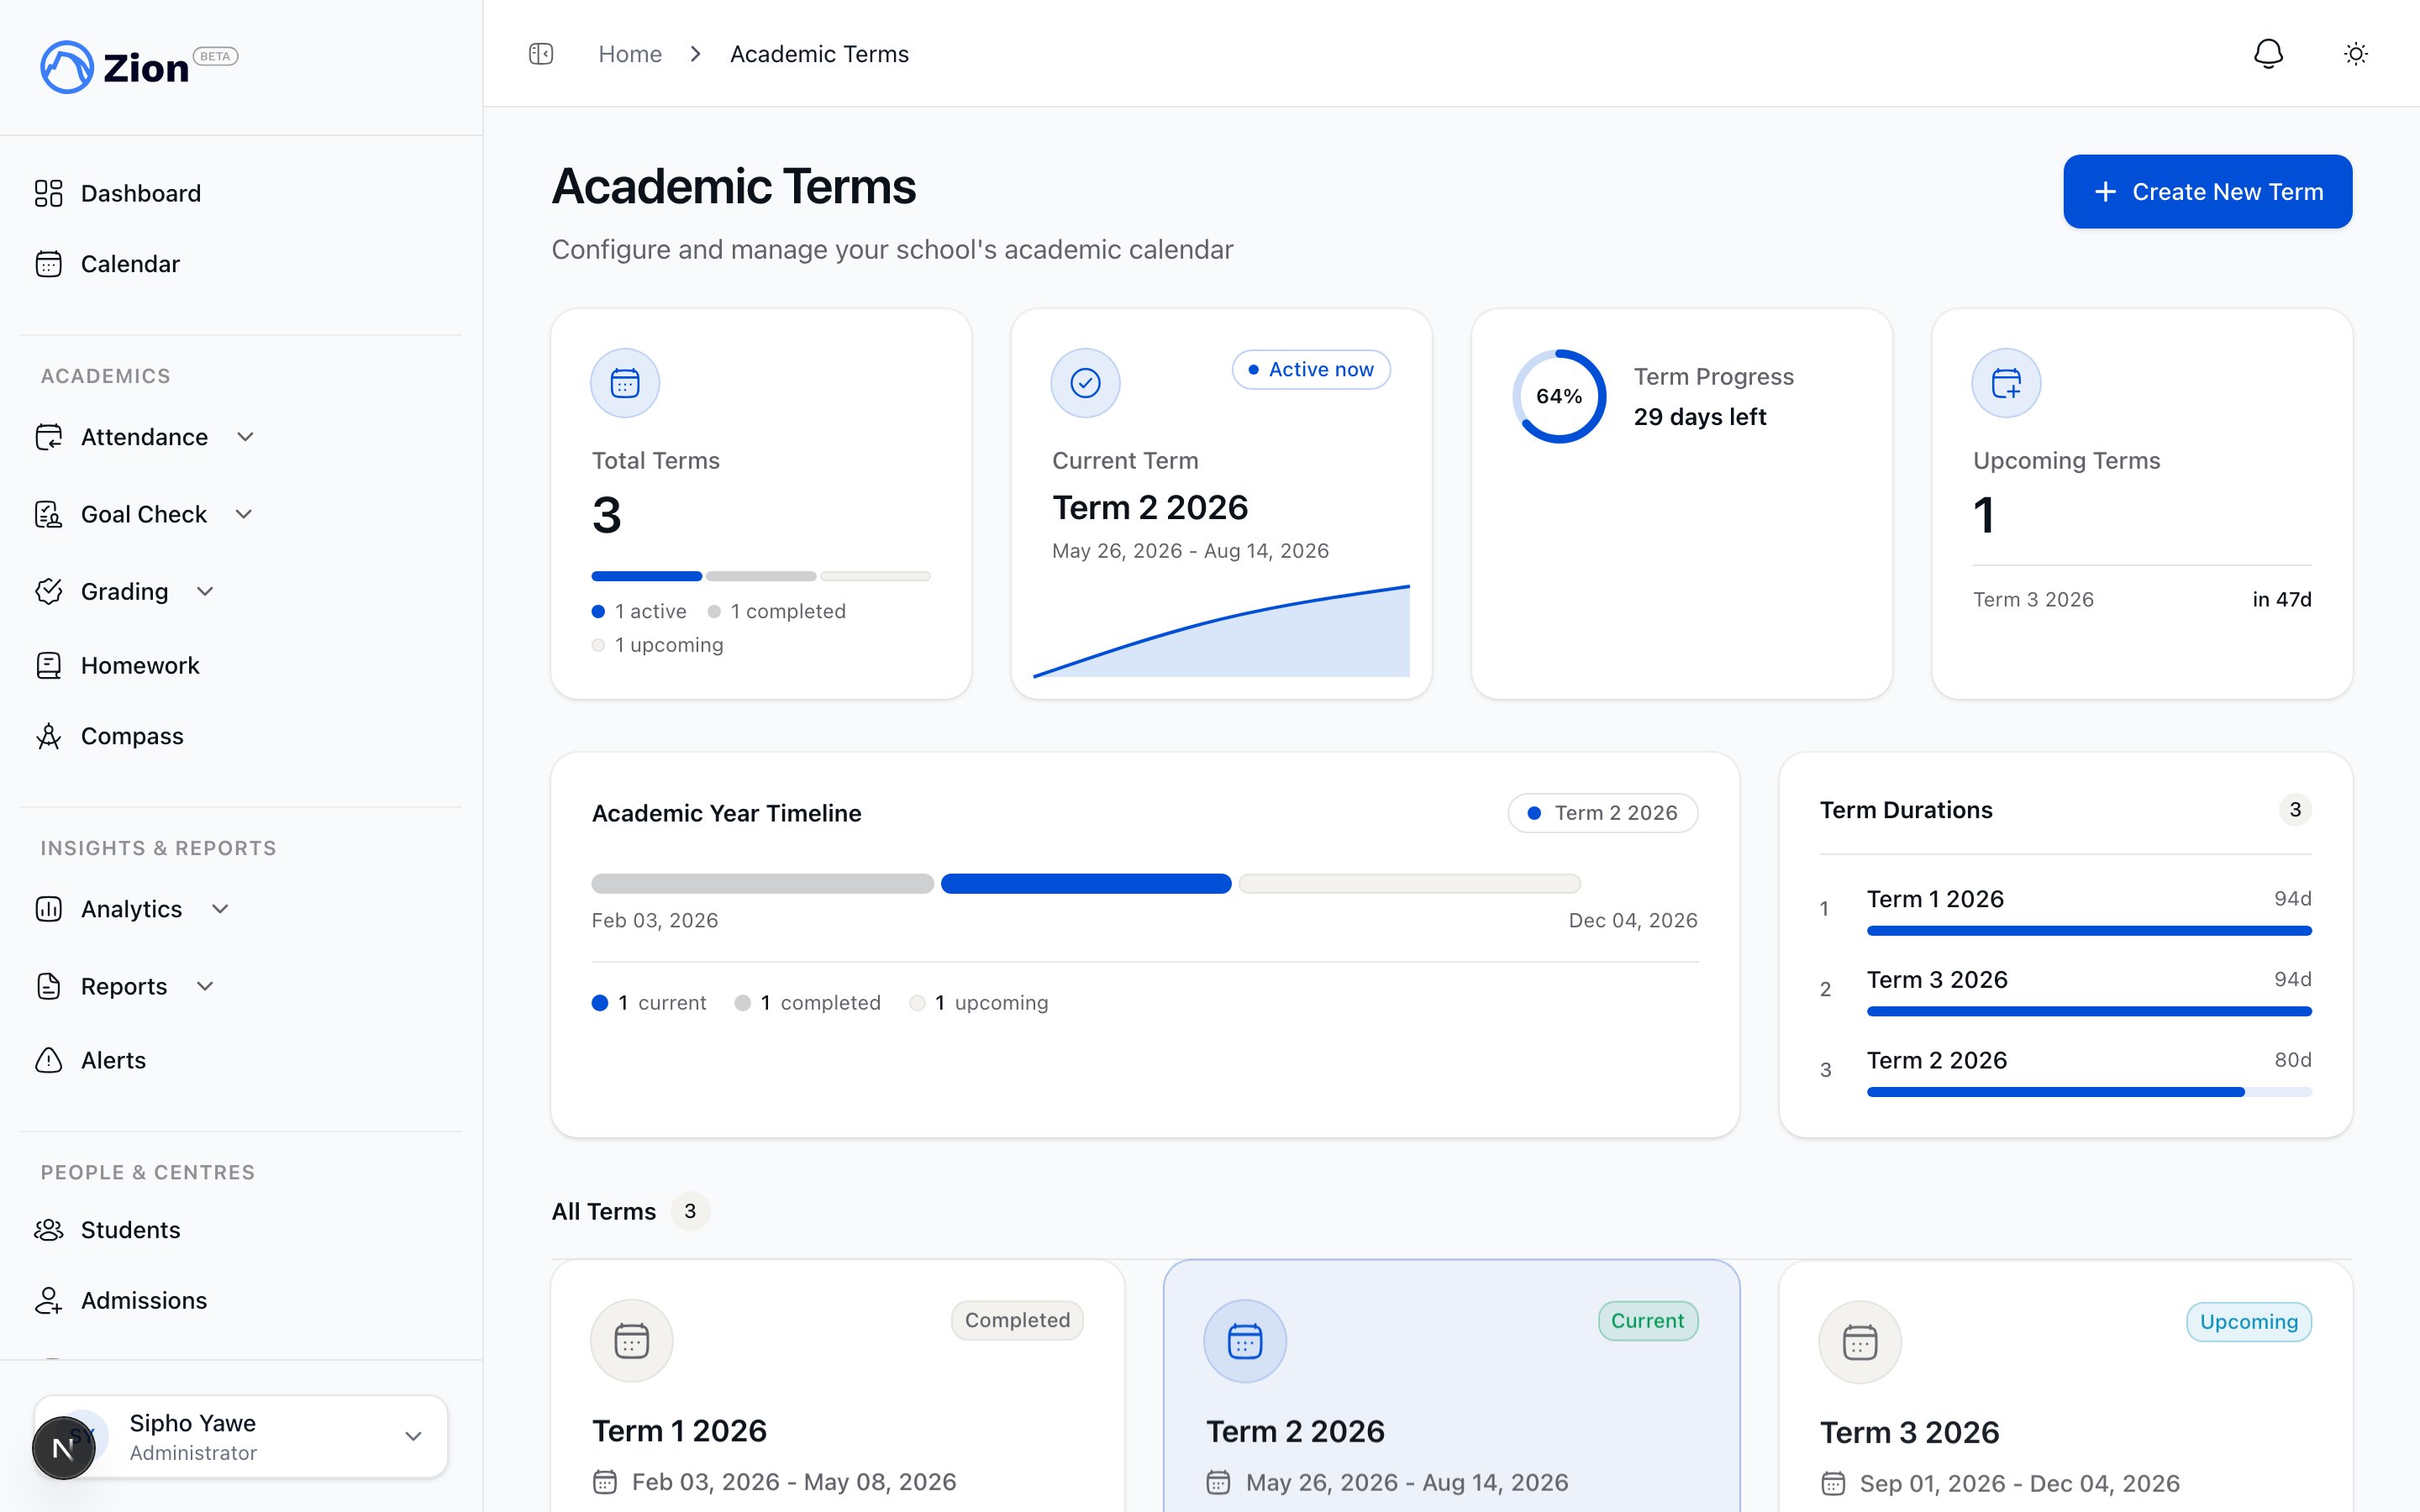
The academic terms page listing terms with start and end dates and the active term marked
- Each term has a name, a start date, and an end date.
- Only one term is active at a time. All new Goal Check entries go to the active term.
- Switching the active term does not delete data from the previous term. Historical terms remain available for reports and exports.
- Because switching terms changes where new data lands, do this on the actual first day of the new term, after final reports for the previous term are generated.
Locking a term
Once a term is finished and its records are settled, lock it to stop further changes landing in it by mistake. Click “Lock” on a term’s card to lock it, and “Unlock” to open it back up. Any administrator can lock or unlock any term. A locked term refuses new or backdated entries into its date range, such as a new score, a retest, or a goal-check correction, with a message asking to have an administrator unlock it first. Locking a term does not by itself stop you from generating report cards for it. Unlock a term temporarily if you need to make a correction, then lock it again once you are done. For the full walkthrough of creating your first terms during setup, see Onboarding.Alert Settings
Alert Settings (Settings > Alerts) controls how Zion flags at-risk students and lets you trigger alerts and digests on demand.- Generate Alerts Now: runs alert analysis across all active students immediately, instead of waiting for the automatic daily run.
- Send Digest Now: emails unacknowledged alerts from the last 24 hours to all administrators, instead of waiting for the automatic daily send.
Raise a threshold to make it less sensitive (fewer alerts, only clearer cases), or lower it to catch issues sooner. See Alerts for what each alert type means for the student it fires on.
Weekly Report Settings
Weekly Report Settings (Settings > Weekly Reports) controls the automated weekly Goal Check report.- Enable or disable the automated report.
- Choose the day and time it generates. Generation runs in your school’s configured timezone, so set the timezone in School Profile first if it is wrong.
- Manage the recipient list. Recipients are persisted and can include people outside the administrator role.
Related Resources
School Settings Overview
The full feature reference for school profile and settings.
Alerts & Reports
Full detail on alert thresholds and weekly report configuration.
Onboarding
The initial setup wizard, including creating your first academic terms.
Learning Centres
Create and manage the learning centres your school profile settings apply across.
Roles & Permissions
Who can edit school settings if you use custom roles.
Alerts Overview
What each alert type detects and what triggers it.