Import writes new student rows only. PACE assignments, goals, and attendance are not part of the file. Assign PACEs afterward from each student’s detail page or with a bulk PACE assignment. See PACE Assignments.
The template
The CSV import dialog with a template download and row validation results.
1
Open the roster
Go to the Students page.
2
Open the import dialog
Click Import CSV.
3
Download the template
Click Download Template. It downloads a spreadsheet with the header row and one example student already filled in.
Required and optional columns
The template also accepts a Learning Centre column labeled “centre” and a Date of Birth column labeled “dob,” along with a few other common spreadsheet header spellings, so a roster export from another system can often be uploaded directly without renaming columns.
Upload and validate
1
Choose your file
Select a spreadsheet file (.csv) up to 5MB. Anything larger or not saved as a CSV file is rejected before upload.
2
Click Validate CSV
Zion reads every row and checks it against the column rules above, without writing anything yet.
3
Review the row results table
Each row shows a Valid or Invalid badge. Invalid rows list every reason: a bad date, a grade outside 1 to 12, a learning centre name that does not match, or a Student ID that is already used elsewhere in the file or on the roster.
Confirm the import
Click Import valid rows, showing the count of rows that passed validation. Only those rows are written. Invalid rows are never imported. Zion checks every row again at the moment of import, so a learning centre or Student ID that changed between validation and import is still caught row by row, rather than failing the whole batch. After the import finishes:- The summary shows how many students were imported and how many were skipped.
- If any imported rows had a Parent Email, a parent invitation is queued for each one. The dialog notes how many invitations are being sent in the background. This does not block the import.
- If any rows were skipped, click Download error report to get a spreadsheet of just the skipped rows with their reasons, so you can fix and re-upload only those.
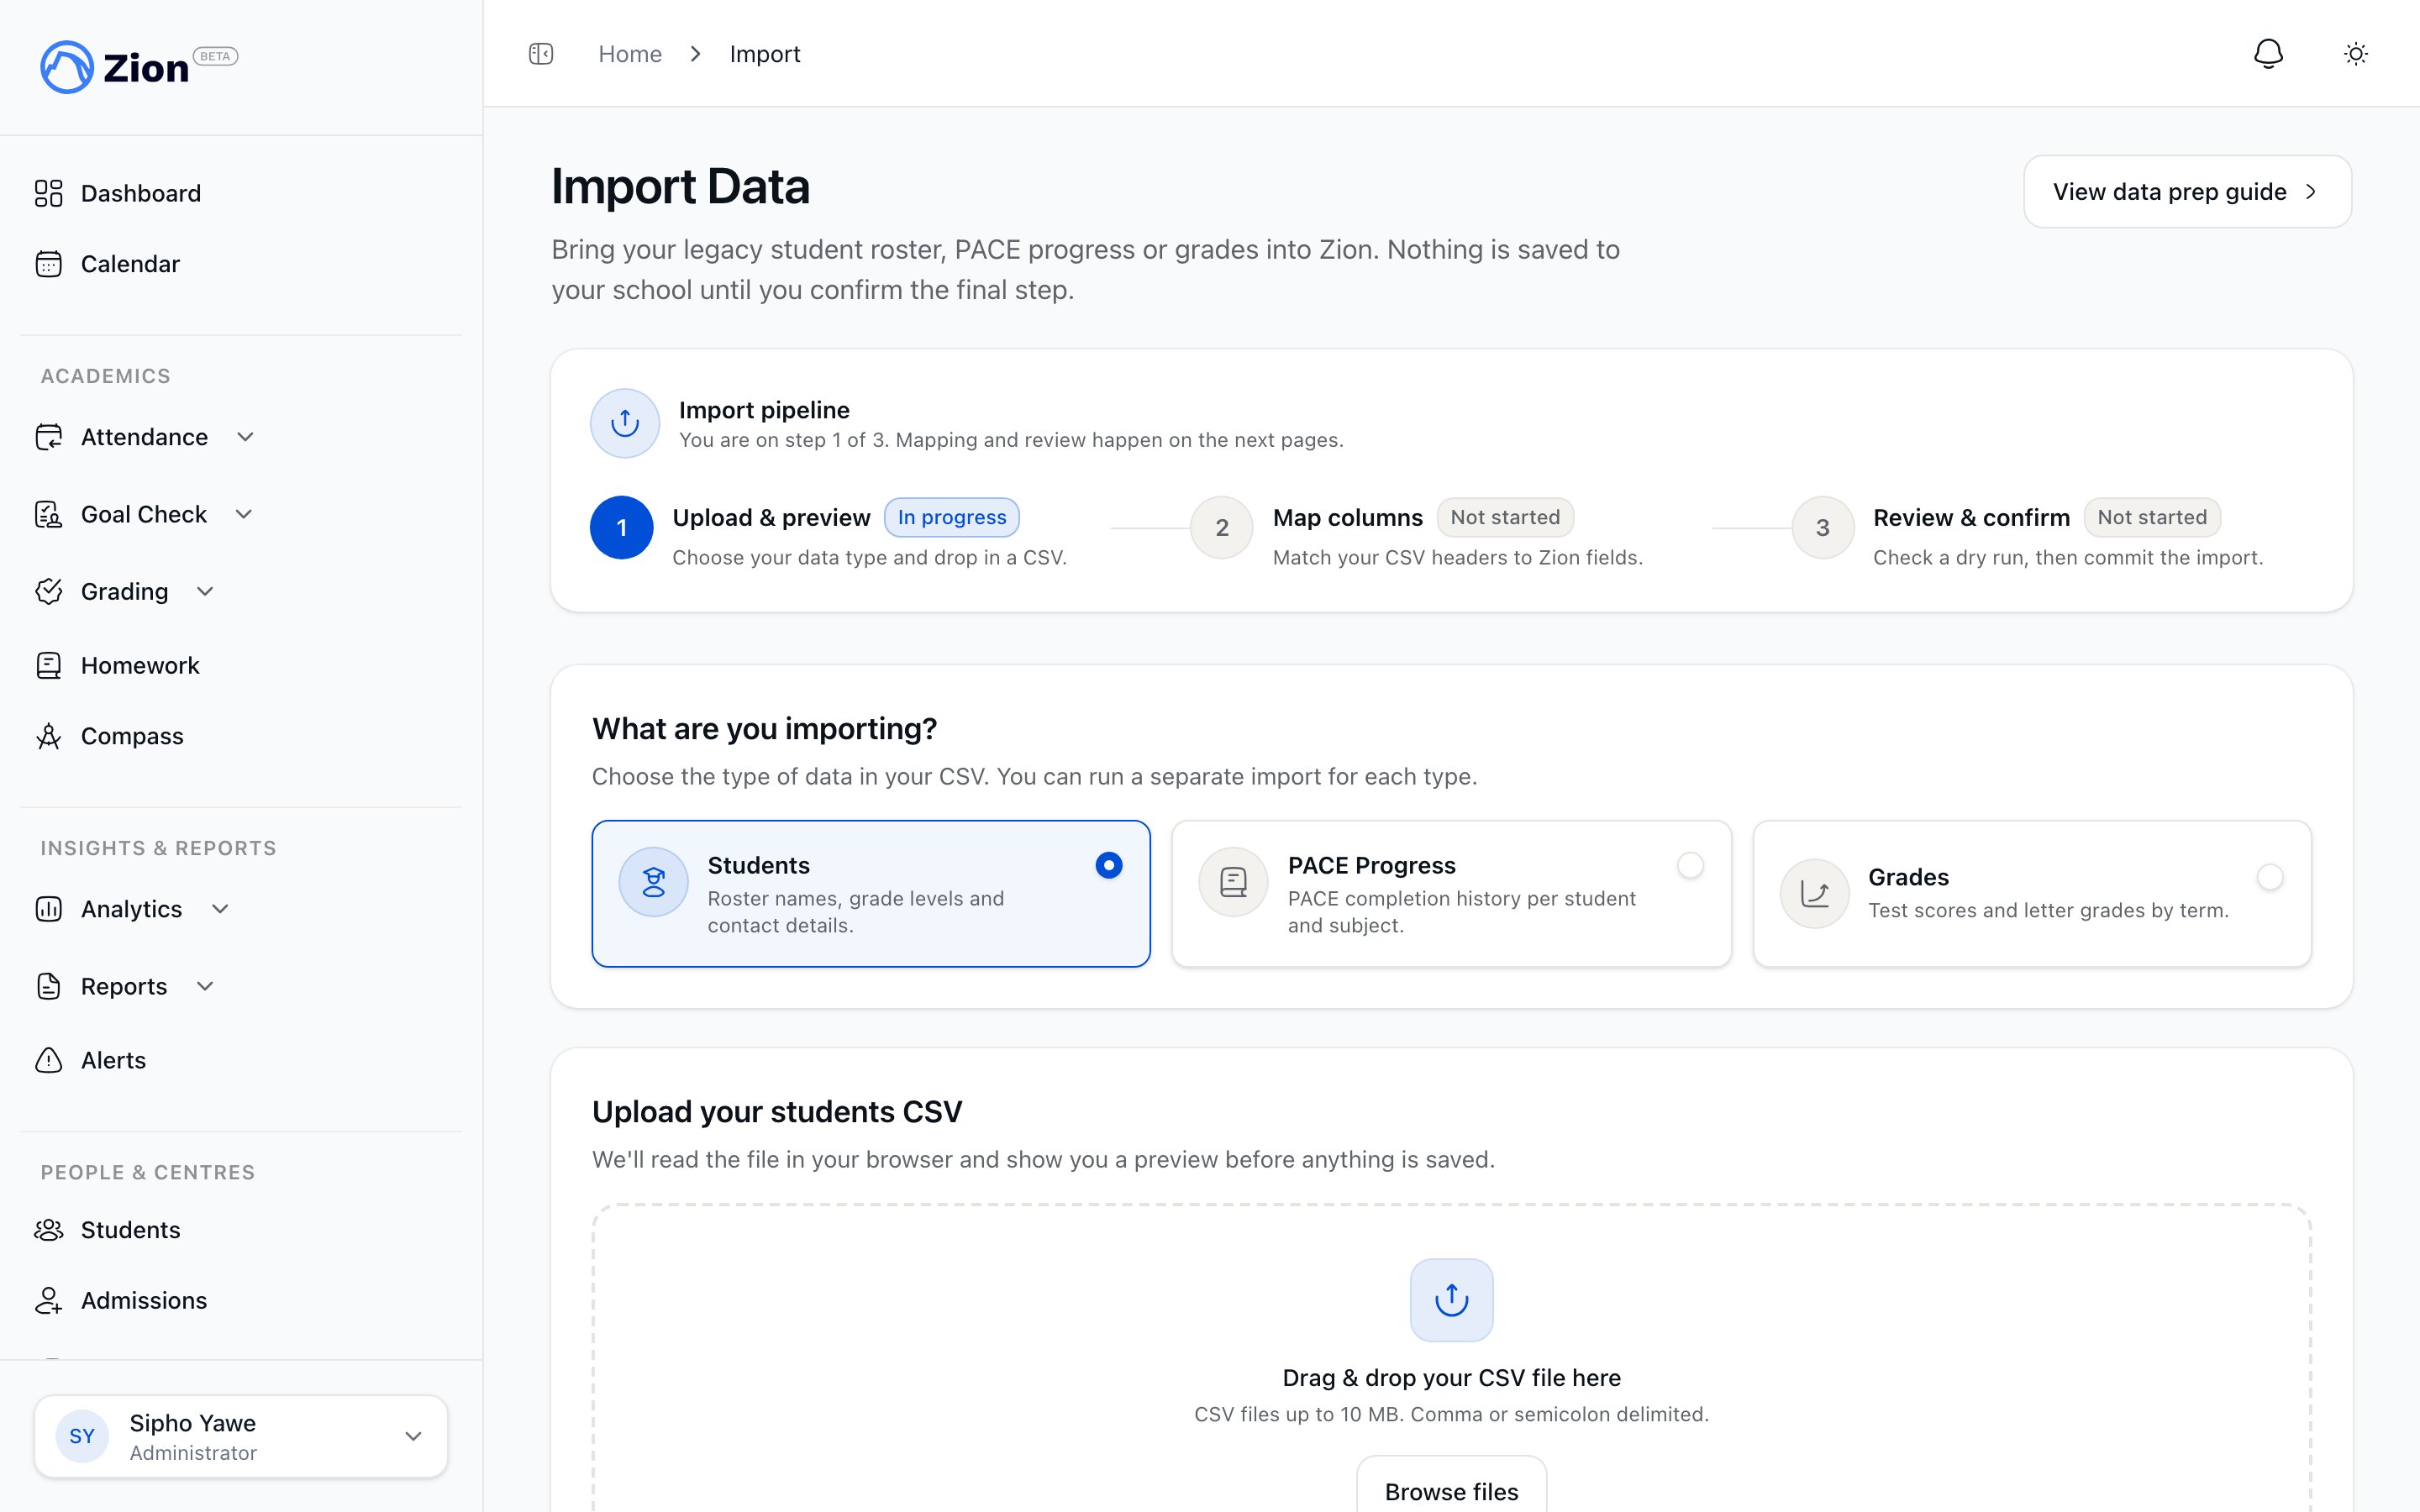
Migrating a full legacy roster
The Import CSV button on the Students page is built for adding students quickly. If you are moving a school over to Zion for the first time and want to bring across PACE progress and grades along with the roster, use Import Data under Administration instead. That wizard walks through three steps: upload and preview your file, map your spreadsheet’s columns to Zion’s fields (not sure what your columns should be called? Download a template listing every field for the data type you are importing), then review a trial run before anything is saved. Nothing touches your school’s data until you confirm the final step.Related pages
CSV Templates
Full column reference and accepted header aliases for every import template.
Student Roster Overview
Roster fields, active vs inactive students, and centre-scoped visibility.
PACE Assignments
Assign PACEs to students after importing them.
Learning Centres
Create the centres your import file will reference.