Accessing attendance marking
1
Navigate to Attendance
Open Attendance from the dashboard navigation.
2
Select a centre
Administrators can choose any active learning centre or view all centres. Supervisors and monitors only see the centres they are assigned to.
3
Confirm the date
The date defaults to today, in your organization’s local timezone. This is the only date you can mark through the normal workflow.
Tapping a status again for the same student on the same day updates their existing record instead of creating a duplicate entry.
The three-tap workflow
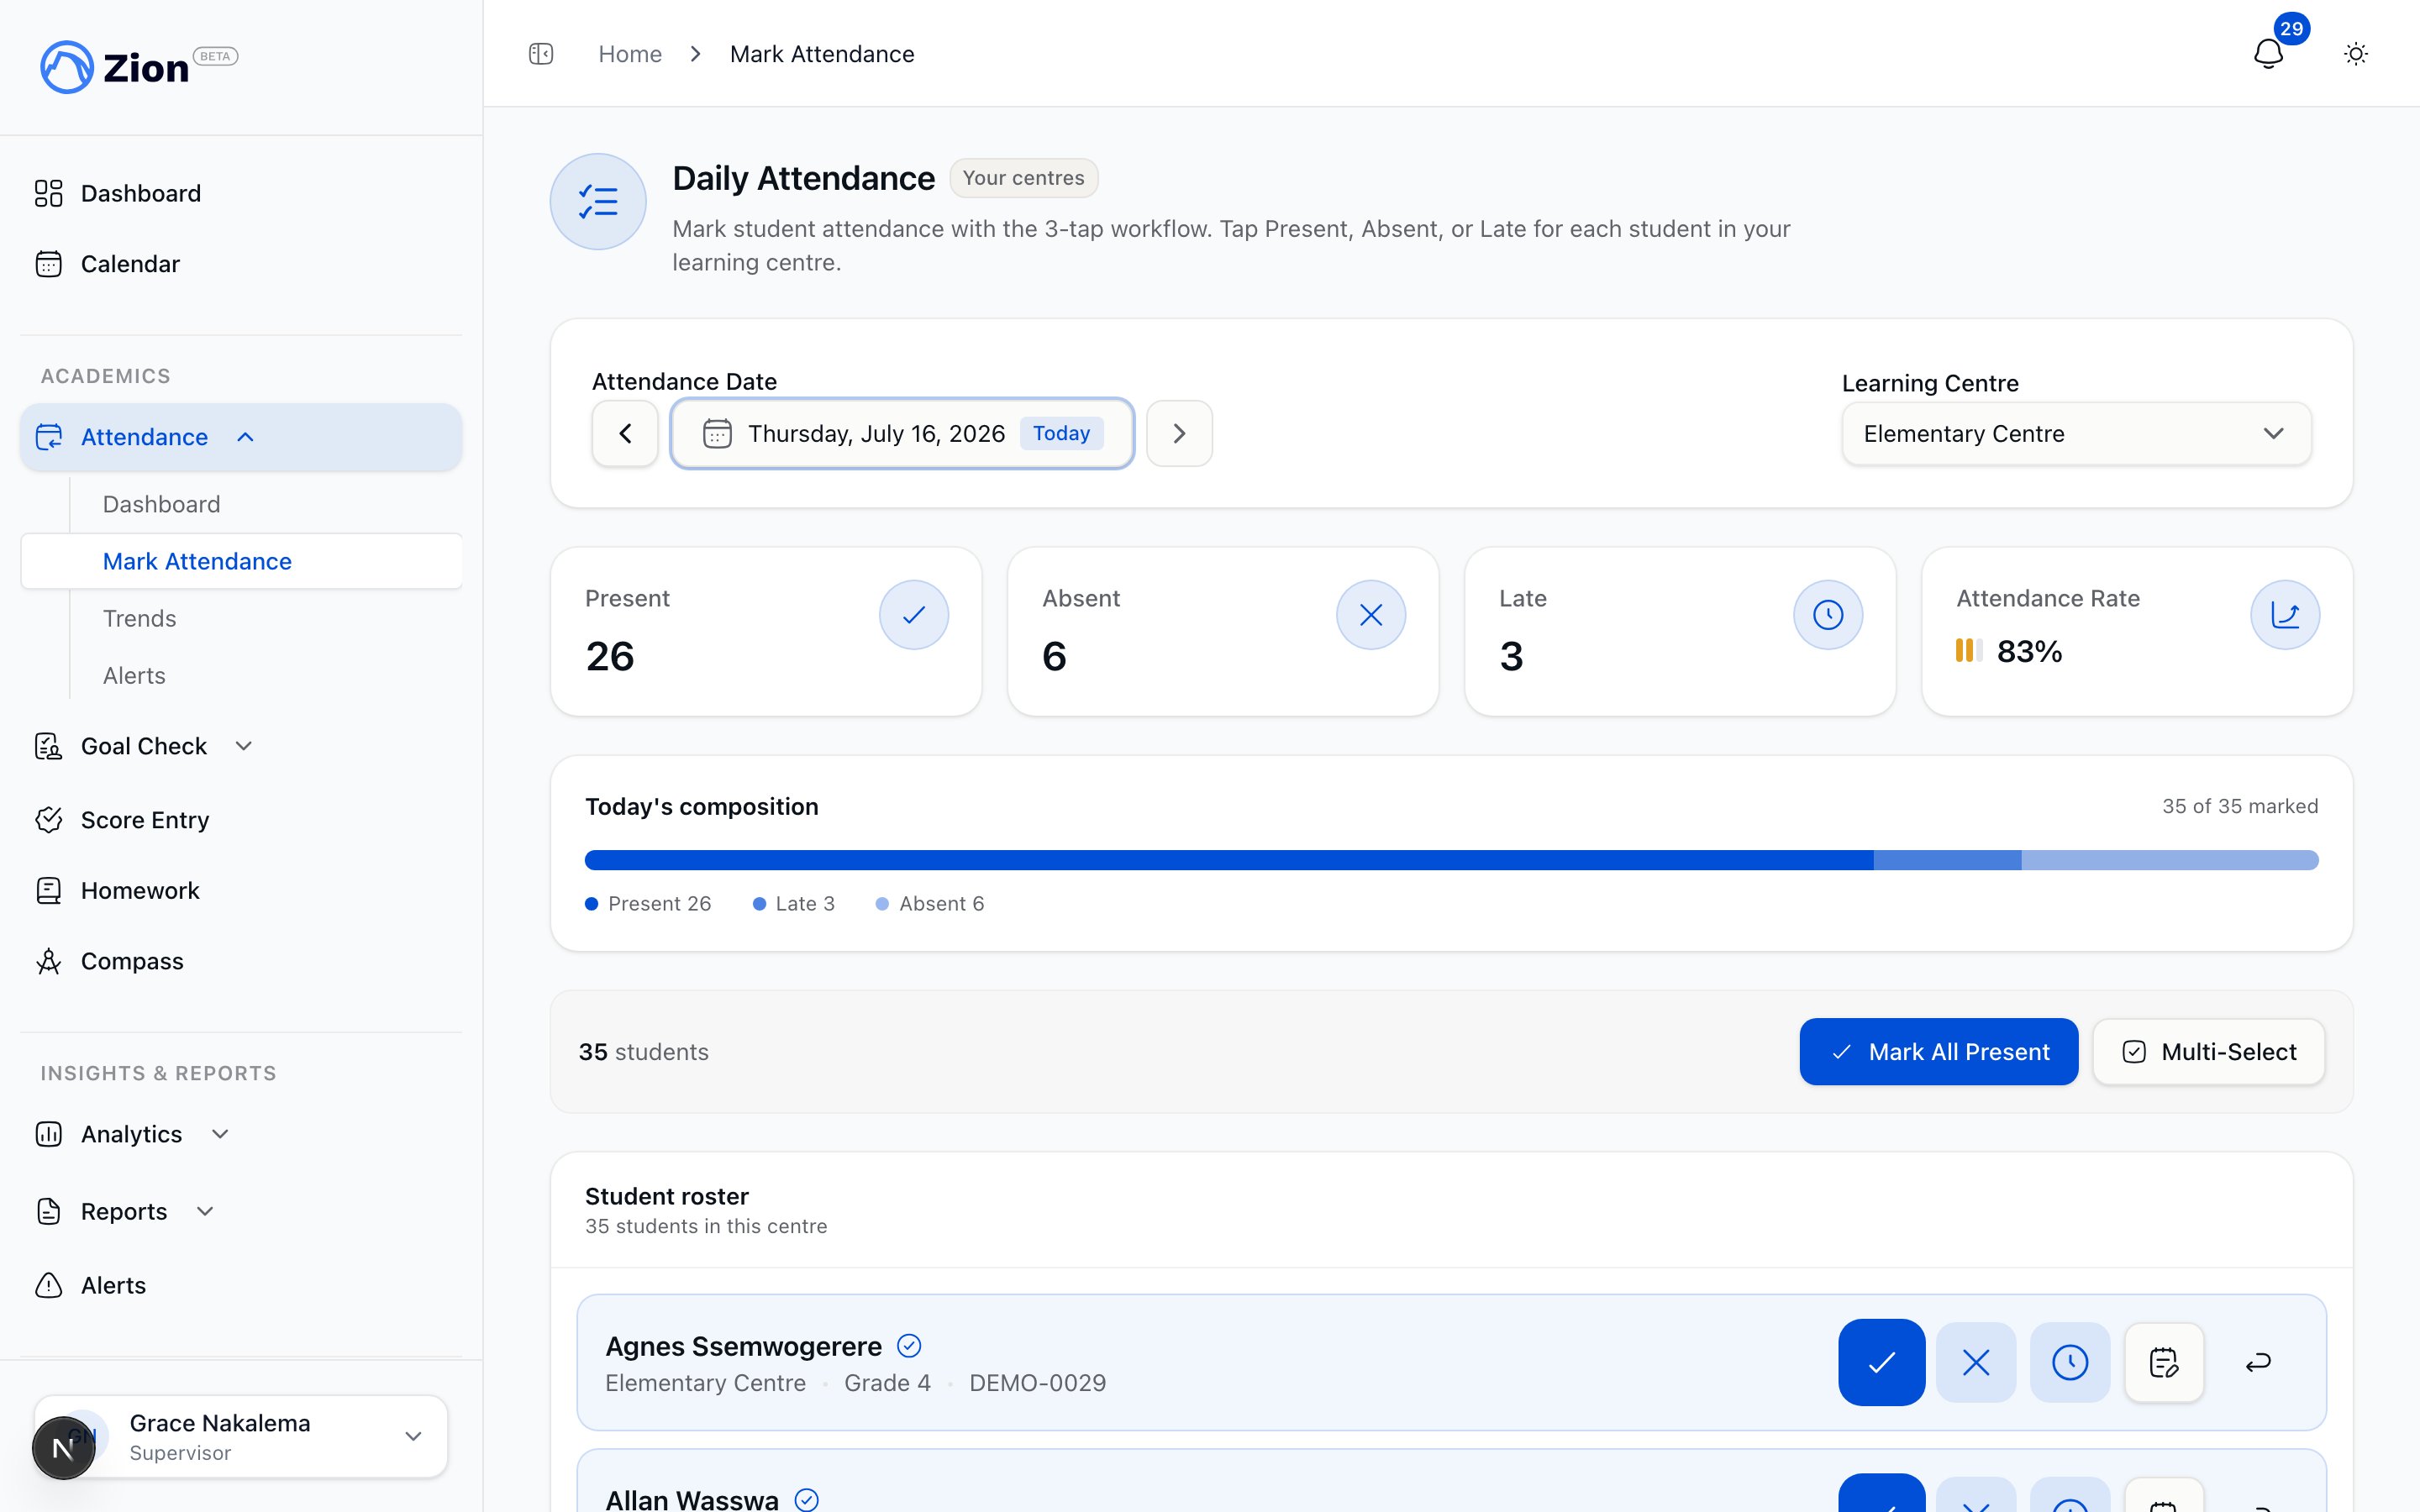
Marking daily attendance with Present, Absent, or Late for each student.
1
Tap the student row
The row expands to show the status buttons.
2
Tap a status
Choose Present, Absent, or Late.
3
For Late, add detail
Optionally set the arrival time and a note. The status saves as soon as you tap it, the arrival time and note can be added right after.
Students appear unmarked first, then alphabetically, so you can see at the top of the list who still needs a status. A summary bar tracks total, marked, unmarked, present, absent, and late counts as you go.
A “Mark All Present” action opens a dialog with every student pre-selected present. Flip the few who are absent or late, add a late arrival time or a short note where it helps, then apply once to save the whole roster in one step. Separately, a Multi-Select mode lets you tick specific students and mark that group present, absent, or late together.
You can add a note to any student, whether they already have a status or not. If the student is still unmarked, the note is saved the next time you tap a status for them; once they have a status, the note saves as soon as you finish typing it. Notes are visible to administrators reviewing that day’s attendance.
Clearing a student’s attendance
If a status was set in error, you can return the student to unmarked instead of switching to a different status.1
Open the student row
Tap the student who already has a status.
2
Tap Clear
This removes the current status and returns the student to the unmarked bucket for the day.
Administrator prior-day correction
The normal marking screen only writes to today’s date. Once your organization’s local calendar day has passed, that date is locked for supervisors and monitors. Administrators can still fix a past date through correction mode.1
Select the past date
Open Attendance and choose the date you need to correct.
2
Enable correction mode
A correction banner appears because the selected date is in the past. Enabling it switches the screen into an edit path built for corrections rather than first-time marking.
3
Edit the student's status
Change the status as needed. The edit is recorded as an audited before-and-after entry rather than a plain mark.
Related pages
Attendance overview
How marking, alerts, and reporting fit together.
Administrator attendance guide
Dashboard, trends, and reports for administrators.
Chronic absence alerts
How consecutive-absence and absence-rate alerts are generated and reviewed.
Corrections and notifications
How audited corrections are logged across Zion.