

The setup wizard
Signing up for Zion is self-serve. You create your school’s account yourself, without waiting on the Zion team.1
Create your school
Give your school a name and, optionally, a country. This creates your school’s account.
2
Start your trial
Add a card to start your 30-day free trial. Nothing is charged, and every feature is unlocked for the trial. This comes before setup, so your school is ready to use by the time you reach the wizard. See Billing and subscription plans for what each plan includes and what happens when the trial ends.
3
Run the setup wizard
With your plan active, the four-step wizard below walks you through setting up your school.
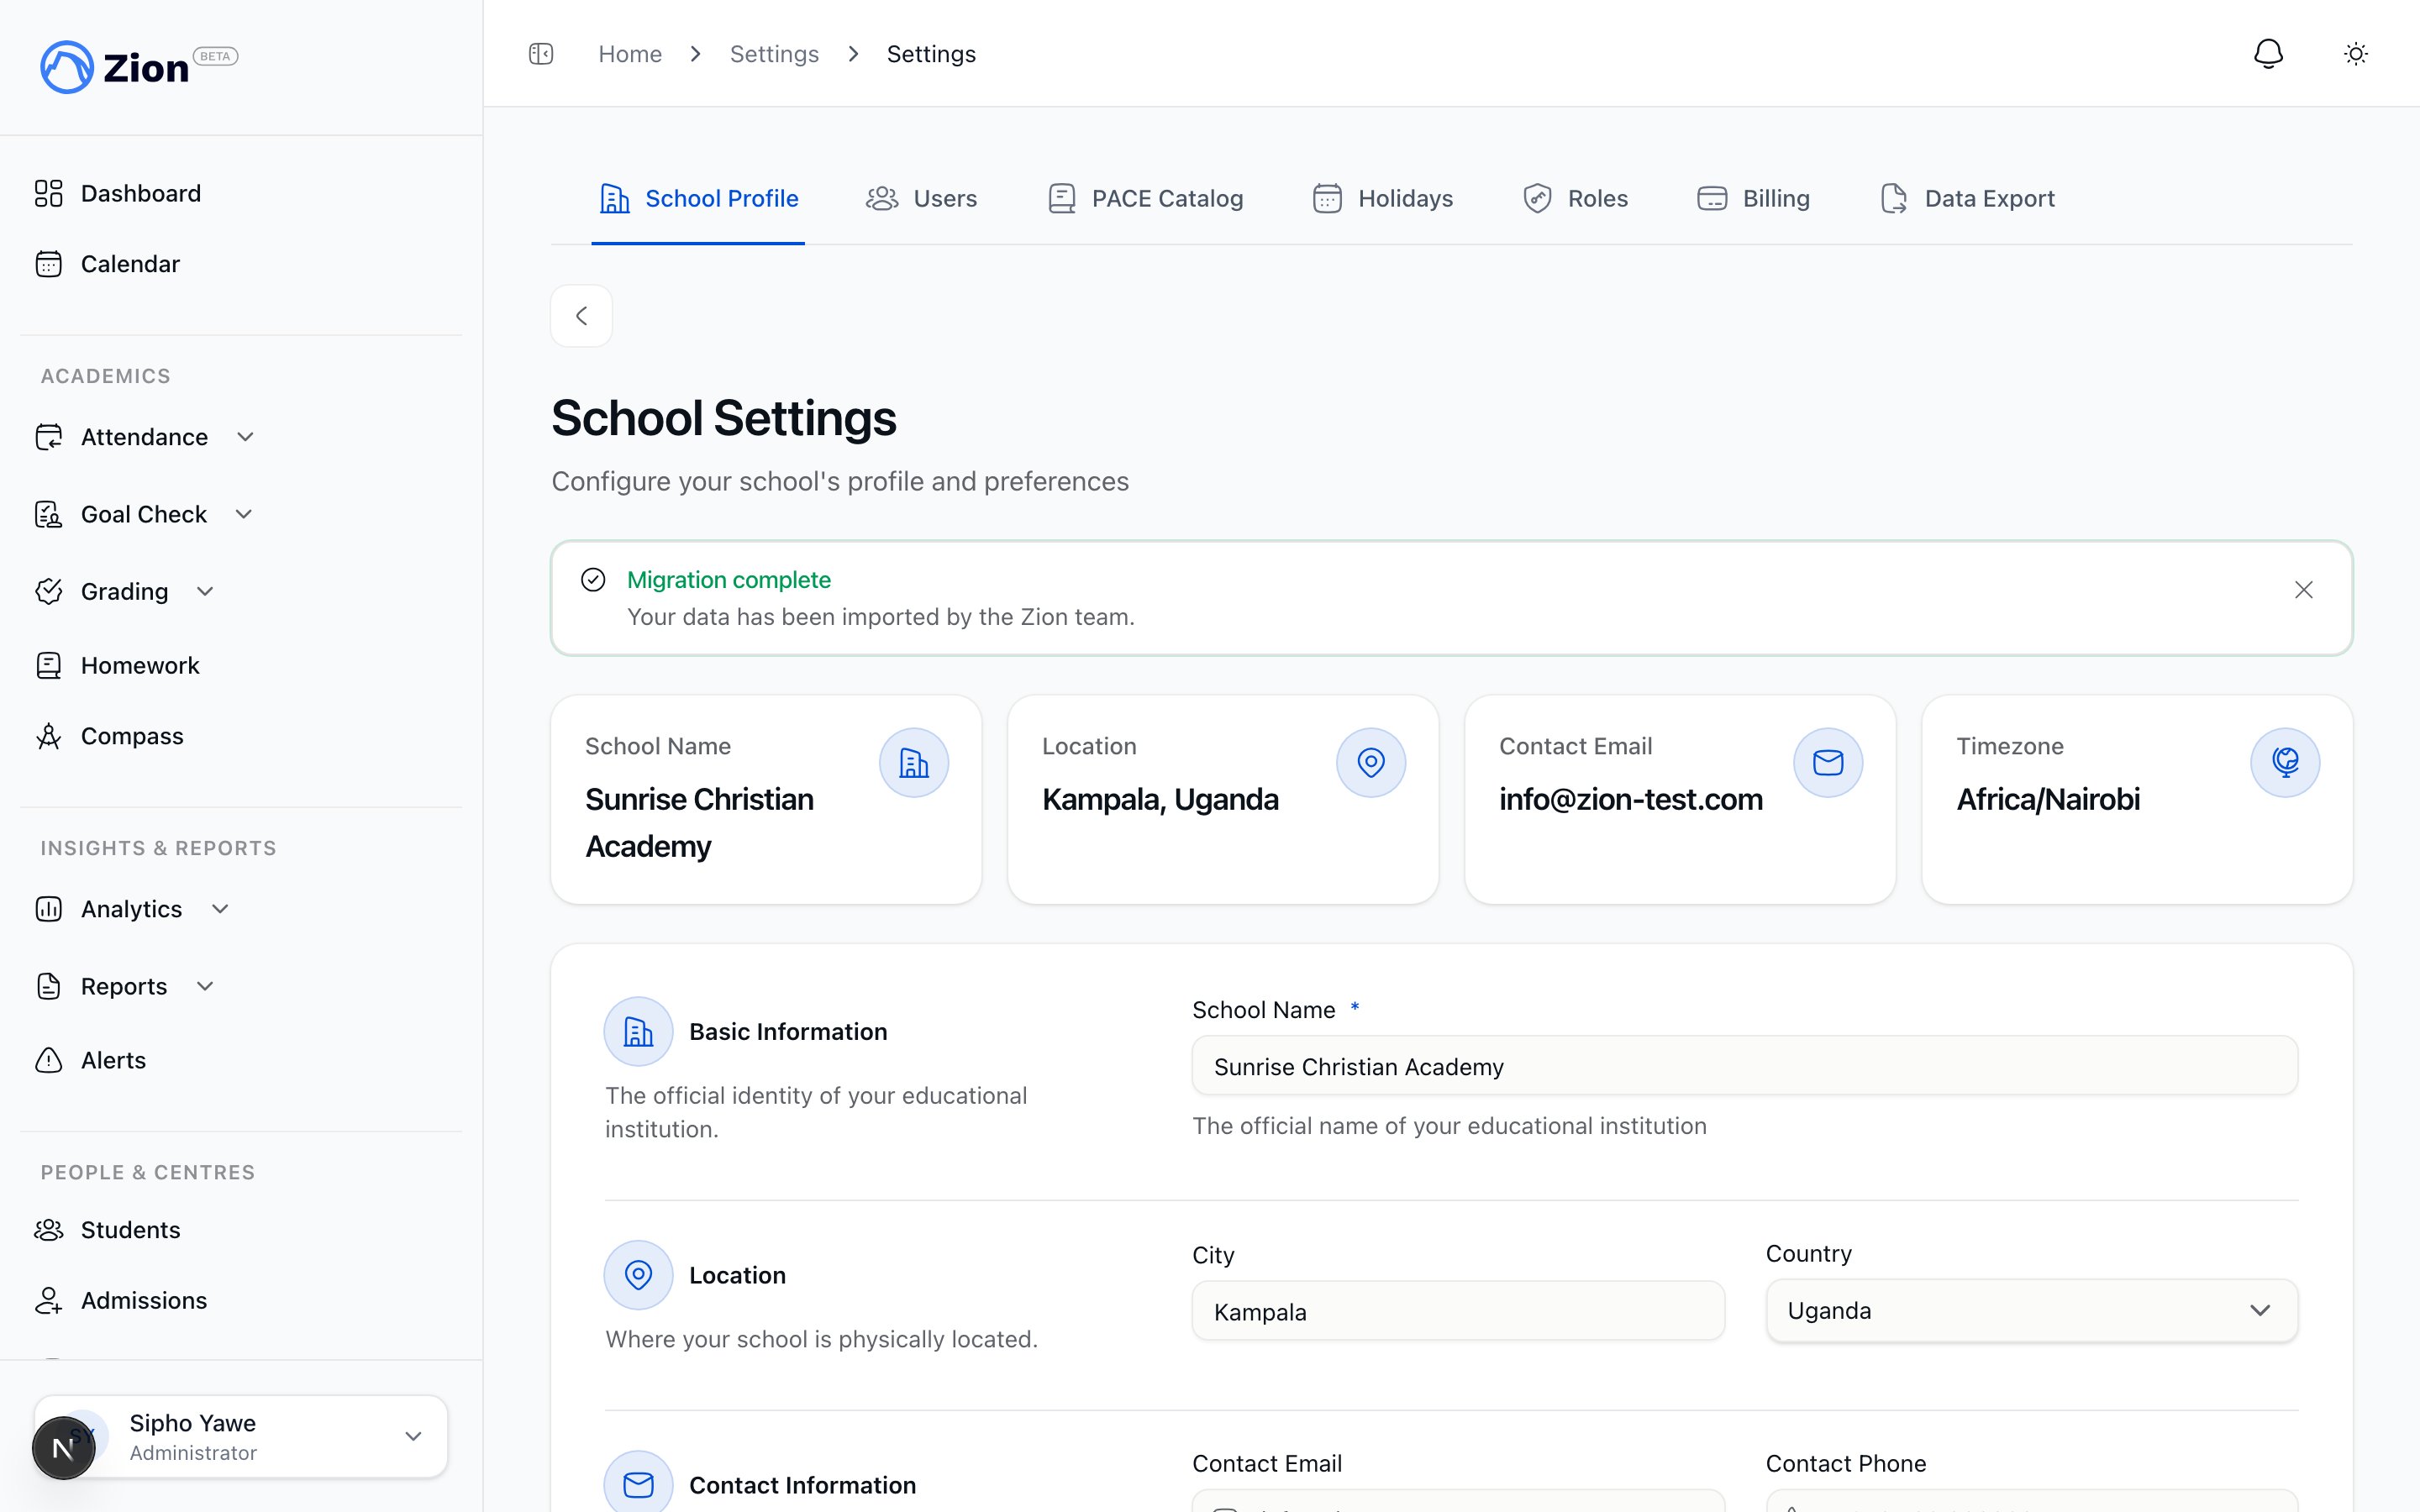
The school profile step of the setup wizard.
1
School Profile
Enter the school name (required, 2 to 100 characters), plus optional city, country, contact email, and contact phone. Timezone defaults to UTC and language defaults to English, the only language currently offered.
2
Academic Terms
Add at least one term with a name and a start and end date. Continue stays disabled until one term exists. Use “Add Another Term” to add more before moving on.
3
Learning Centres
Add at least one centre with a name (required), an optional description, and an optional capacity. Continue stays disabled until one centre exists.
4
Invite Teaching Staff
Optionally invite a Supervisor or Monitor by email and name, assign learning centres, and add a welcome message. This step only offers the Supervisor and Monitor roles. Both “Skip This Step” and “Send Invitation” move you forward.
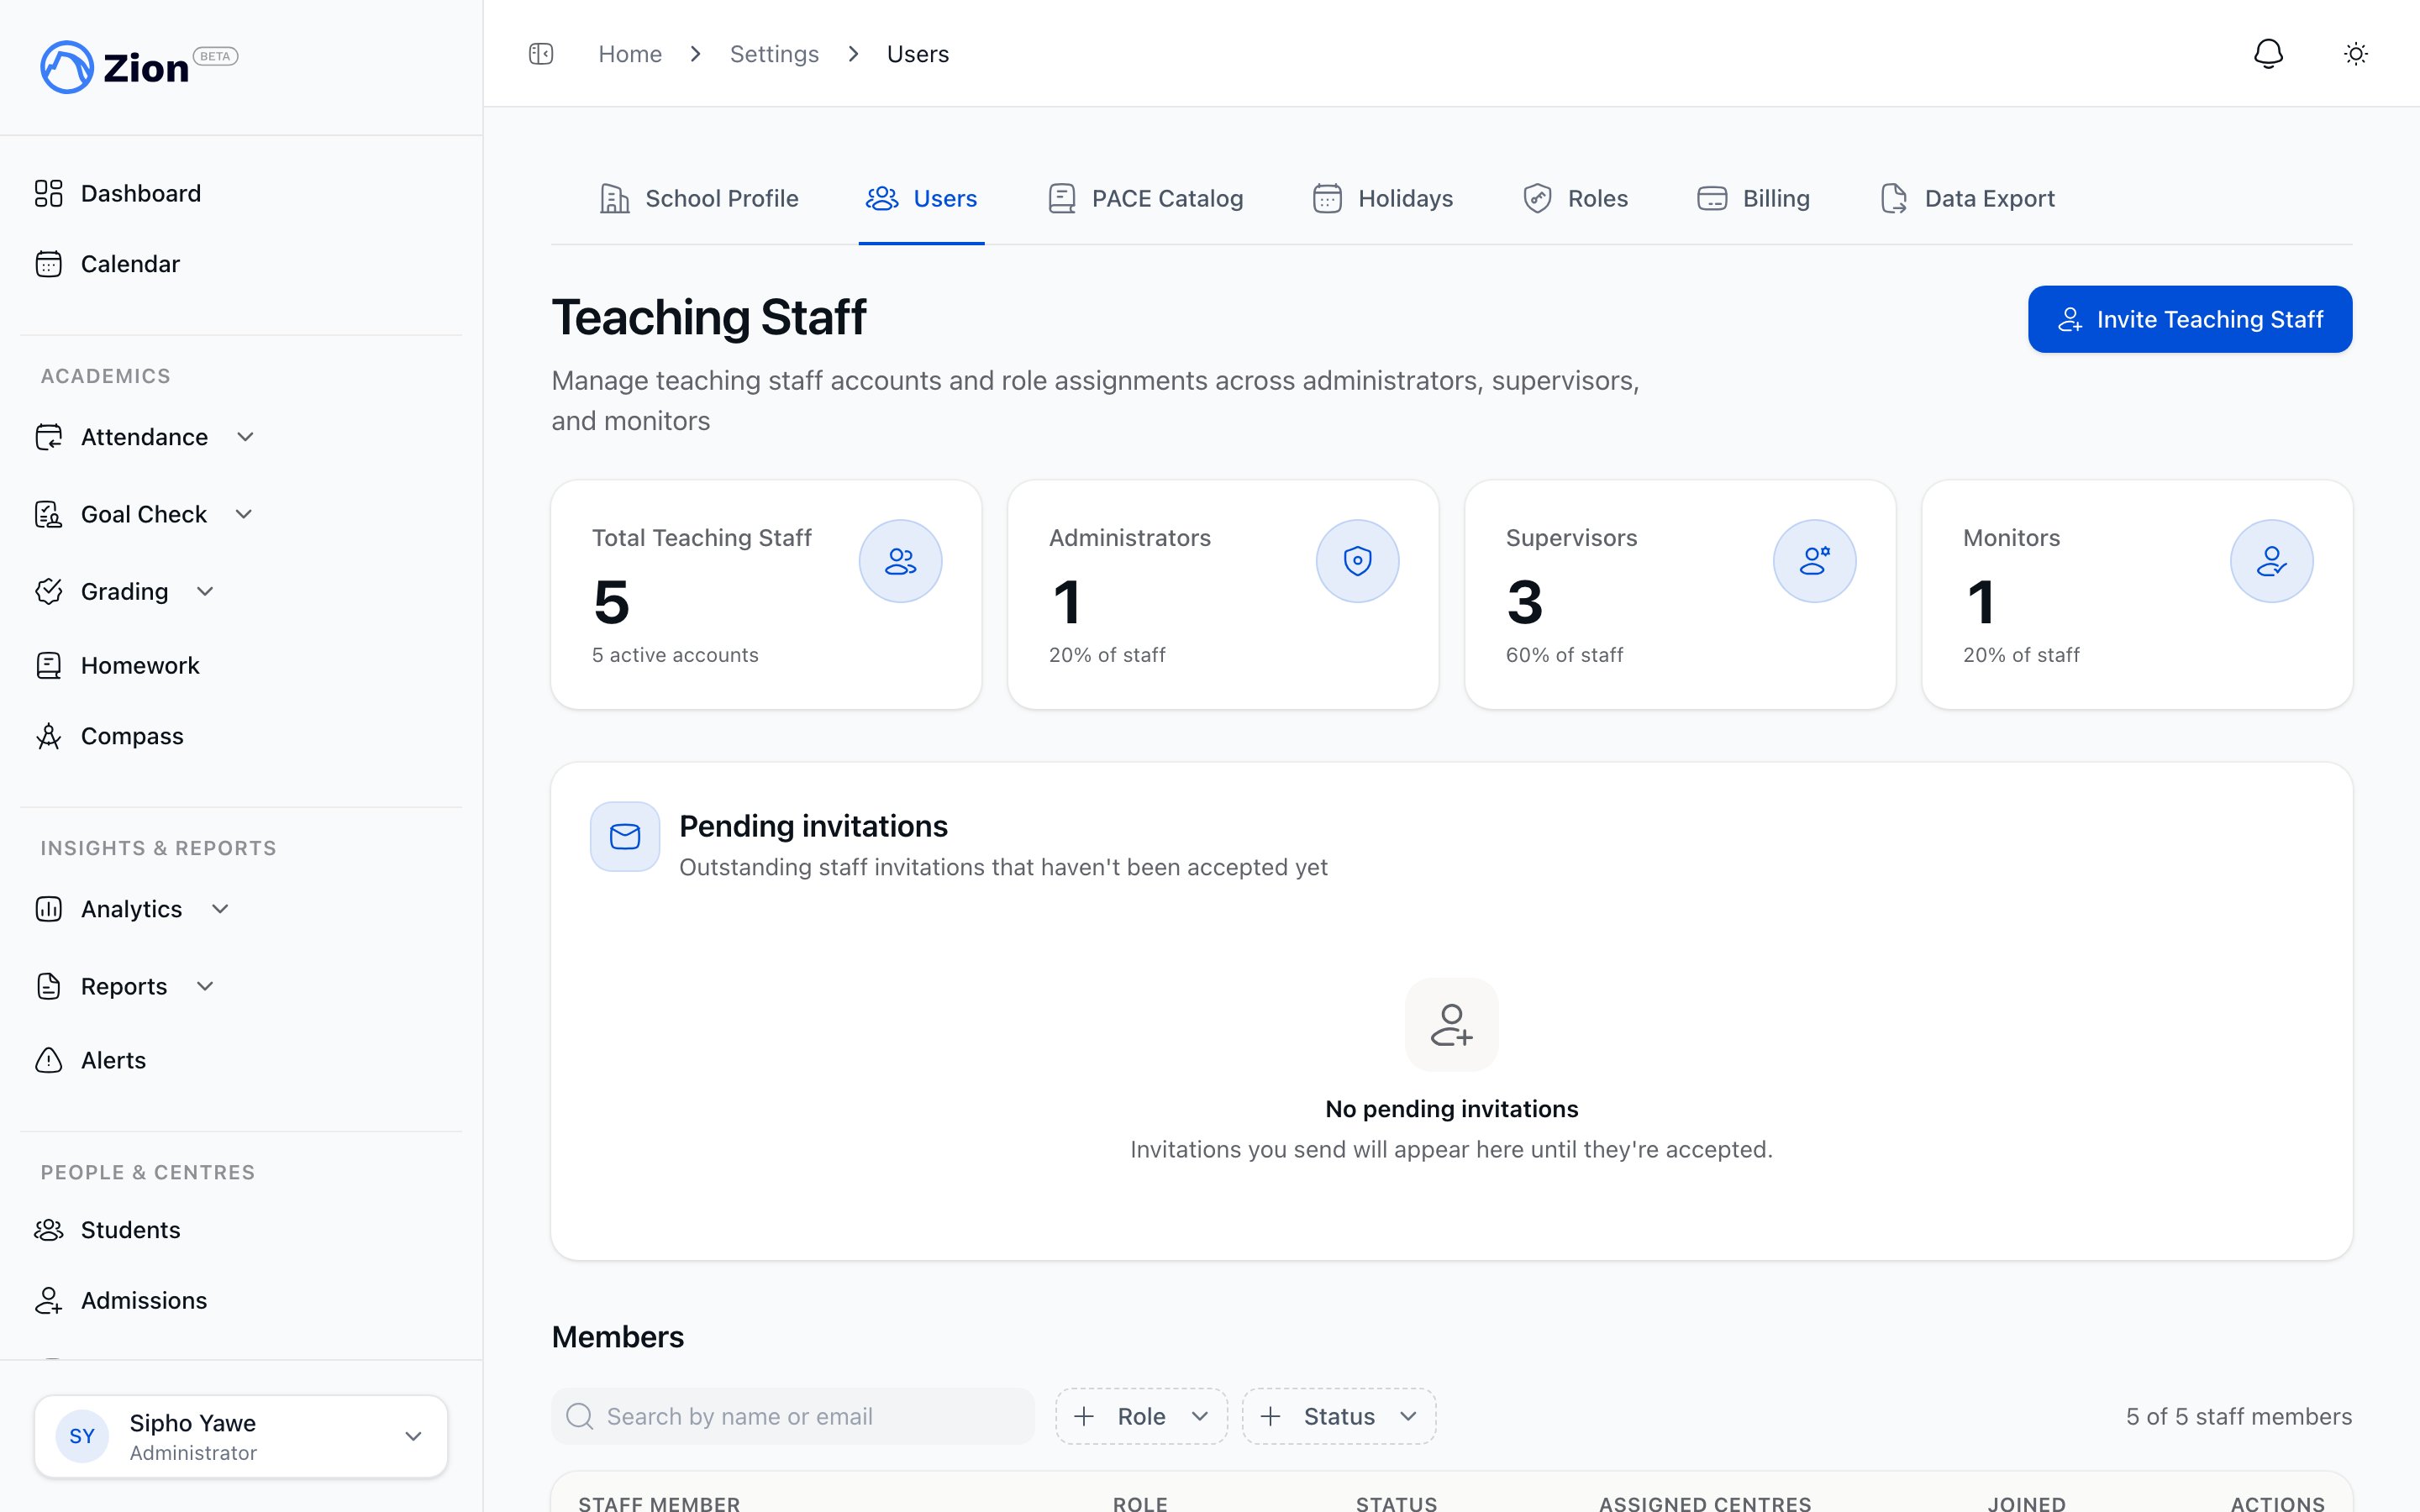
The invite teaching staff step of the setup wizard.
Once your school profile is set up, Zion does not replay the wizard. Returning to it shows a static “Onboarding Complete” screen with links to the dashboard and to School Settings.
The Getting Started checklist (dashboard widget)
This is a different feature. It is a per-user, per-role checklist that appears on the administrator, supervisor, and monitor dashboards, and it has nothing to do with whether the wizard above has run. It tracks a role-specific list of onboarding actions (the steps differ between an administrator and a supervisor or monitor) and shows a completed-versus-total counter. Each row in the checklist links to the real page where that action happens. For example, an administrator’s “school profile” step links to School Settings, and a supervisor’s “practice Goal Check” step links to the Goal Check entry screen. Completed steps show struck through; open steps stay active. You can clear a step in either of two ways.- Click the row to go do the action. Some actions, like saving the school profile, tick the matching step automatically once you complete them.
- Tap the circle icon next to an open step to mark it done manually, without navigating anywhere.
Dismissing, reopening, and resetting
- Dismiss (self)
- Reopen (self)
- Reset for another user (administrator only)
Click “Dismiss” on the widget to hide it permanently. This records your completion timestamp so the checklist will not reappear on future visits, even with steps still open.
Keeping the two systems straight
Organization: Teaching Staff and Users
Invite, manage, and reset onboarding for staff after the wizard is done.
Learning Centres
Add and manage the centres created during Step 3 of the wizard.
Academic Terms
Manage terms beyond the first one created during onboarding.
Administrator: Onboarding
A role-specific walkthrough for administrators finishing initial setup.