

‘Teaching Staff’ is a directory label, not a separate role. Every account listed here holds one of three roles: administrator, supervisor, or monitor. Students and parents have their own accounts and are not managed on these pages.
The staff directory
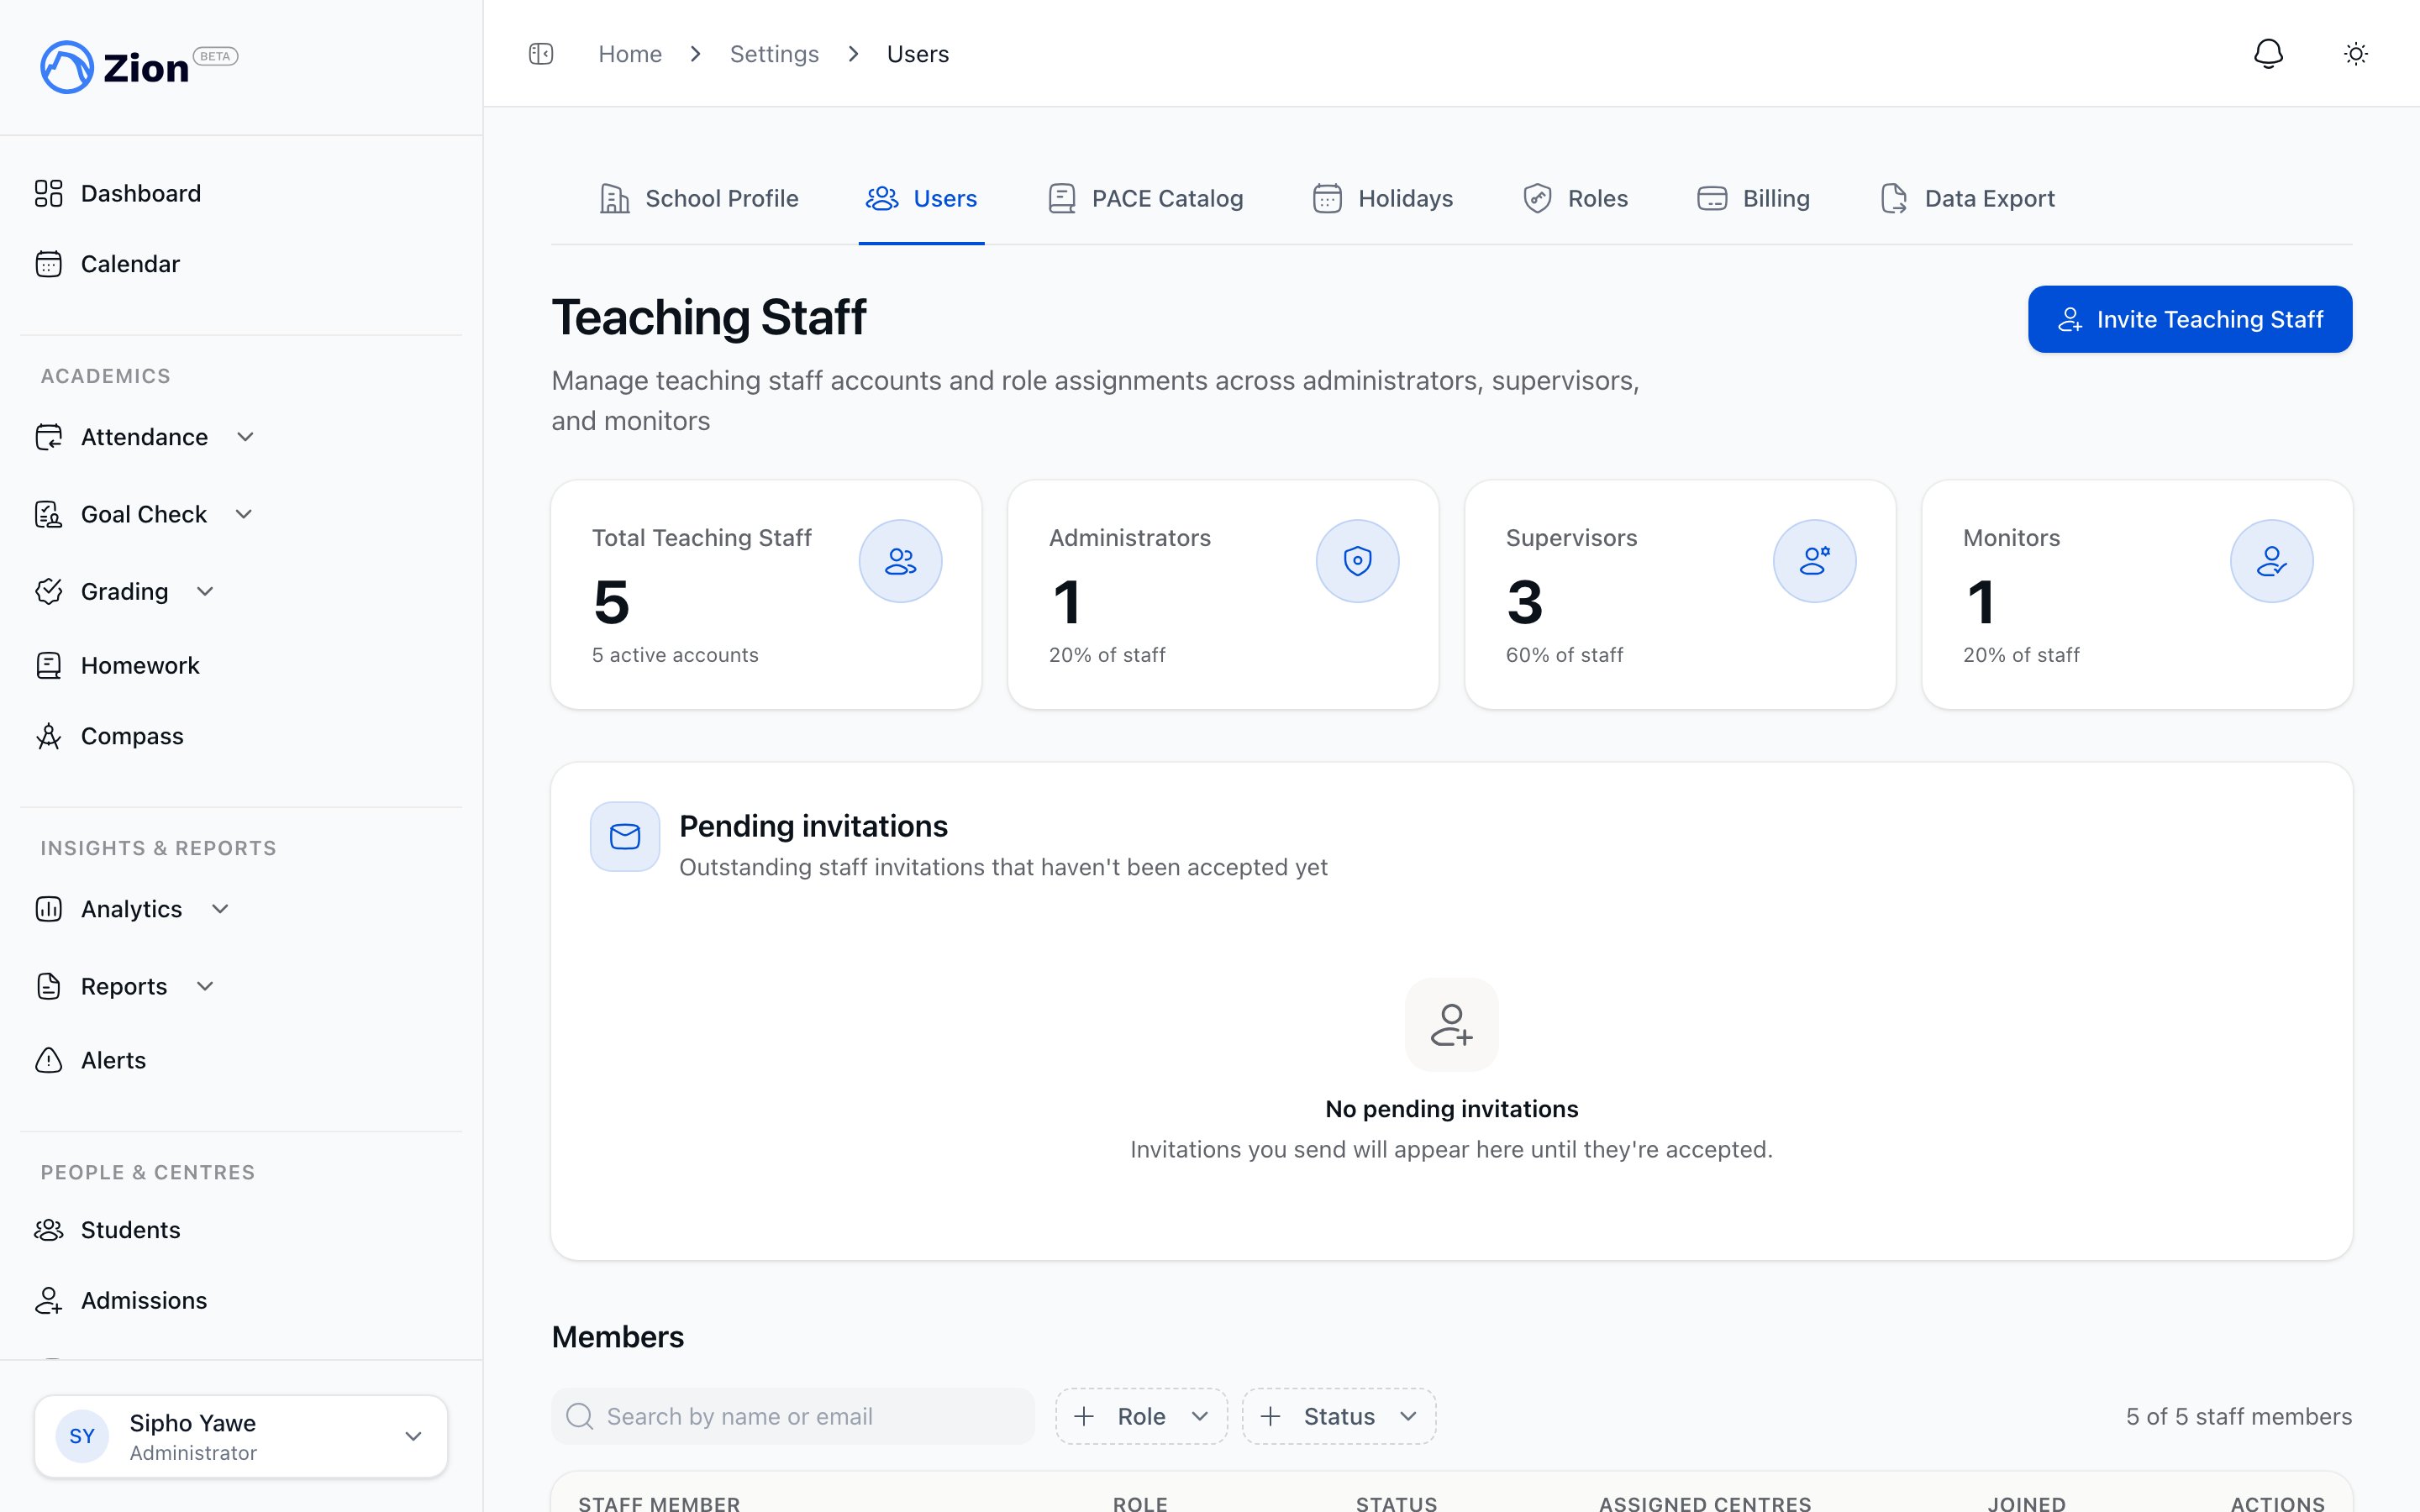
The teaching staff directory with stat tiles and assigned learning centres per person.
- Teaching Staff, reached from the sidebar under People & Centres
- Users, reached from the Settings tab bar
Inviting a teaching staff member
1
Open the invite form
From either the Teaching Staff page or Settings > Users, click ‘Invite Teaching Staff’.
2
Enter the email and role
Enter the invitee’s email address and choose a role: Administrator, Supervisor, or Monitor.
3
Assign learning centres
If the role is Monitor, you must select at least one learning centre. Monitors can only access students in their assigned centres. If the role is Supervisor, centre assignment is optional; supervisors use assigned centres for approvals and reporting. If the role is Administrator, any selected centres are cleared since administrators are not limited to specific centres.
4
Add an optional welcome message
Add a custom message, up to 500 characters, to include in the invitation email.
5
Submit
Zion emails an invitation so the invitee can set a password and join. The invite appears in the Pending Invitations table until accepted.
Inviting staff from a spreadsheet
If you are onboarding several teachers at once, for example at the start of a term, bulk invite is faster than inviting one at a time.1
Open the bulk invite option
From either the Teaching Staff page or Settings > Users, open the bulk invite option next to ‘Invite Teaching Staff’.
2
Download the template
Use the template button to get a spreadsheet with a column for email, first name, last name, role, and learning centres.
3
Fill it in and upload
List each person’s role as Administrator, Supervisor, or Monitor, and, for Monitors and Supervisors, the name of the centre or centres they should be assigned to, separated by commas.
4
Review and confirm
Zion invites each row and tells you which were sent, and which were skipped, for example because the email is already a member or already has a pending invitation.
Staff roles summary
For the full permission breakdown behind each role, see Roles & Permissions.
Pending invitations
On Settings > Users, the Pending Invitations table lists every invite that hasn’t been accepted, with the invitee’s email, role, and the date it was sent. From this table you can:- Resend the invitation email
- Revoke the invitation before it’s accepted
User detail and edit
Clicking a staff member opens their user detail page, which shows:- Account information: email, joined date, and assigned learning centres
- Edit form: name, role, and centre re-assignment
- Assigned Roles: any custom roles layered additively on top of the built-in role
- Effective Permissions: the resolved set of permissions from the built-in role plus any assigned custom roles, with the source of each permission shown
- Recent Activity: a history panel of the user’s actions
Deactivate and reactivate a user
1
Open the user's detail page
Go to Settings > Users and select the account.
2
Deactivate
Click ‘Deactivate User’ in the Account Information card. Before you confirm, Zion shows you what deactivating will clean up: the learning centres this person is assigned to, and any upcoming meetings where they are the assigned staff member. Confirm in the dialog. Deactivating blocks the user from logging in, removes them from the organization, unassigns them from every learning centre, cancels their upcoming meetings, and preserves their data for audit.
3
Reactivate
A deactivated user can be reactivated later. Reactivating restores their organization membership and their previous role.
Resetting a user’s onboarding
The user detail page has a Reset Onboarding action for administrators who need to walk a staff member through the getting-started guide again, for example when re-training someone on the team. Resetting clears the user’s onboarding completion and step progress so the guide starts over from the beginning the next time they sign in.Learning Centres
Create centres, set capacity, and assign staff to a centre’s roster.
Roles & Permissions
Layer custom roles on top of built-in roles and review effective permissions.
Administrator: staff management
A guided walkthrough of managing staff as an administrator.
Roles and permissions reference
The full reference table of roles and permission keys.